IntelliJ Communication 사용한 Springboot 시작
2022/8/10: 첫번째 버전.
첫번째 스프링 부트
https://start.spring.io/ 사이트에 접속해 아래 같이 프로젝트 구성을 선택한다.
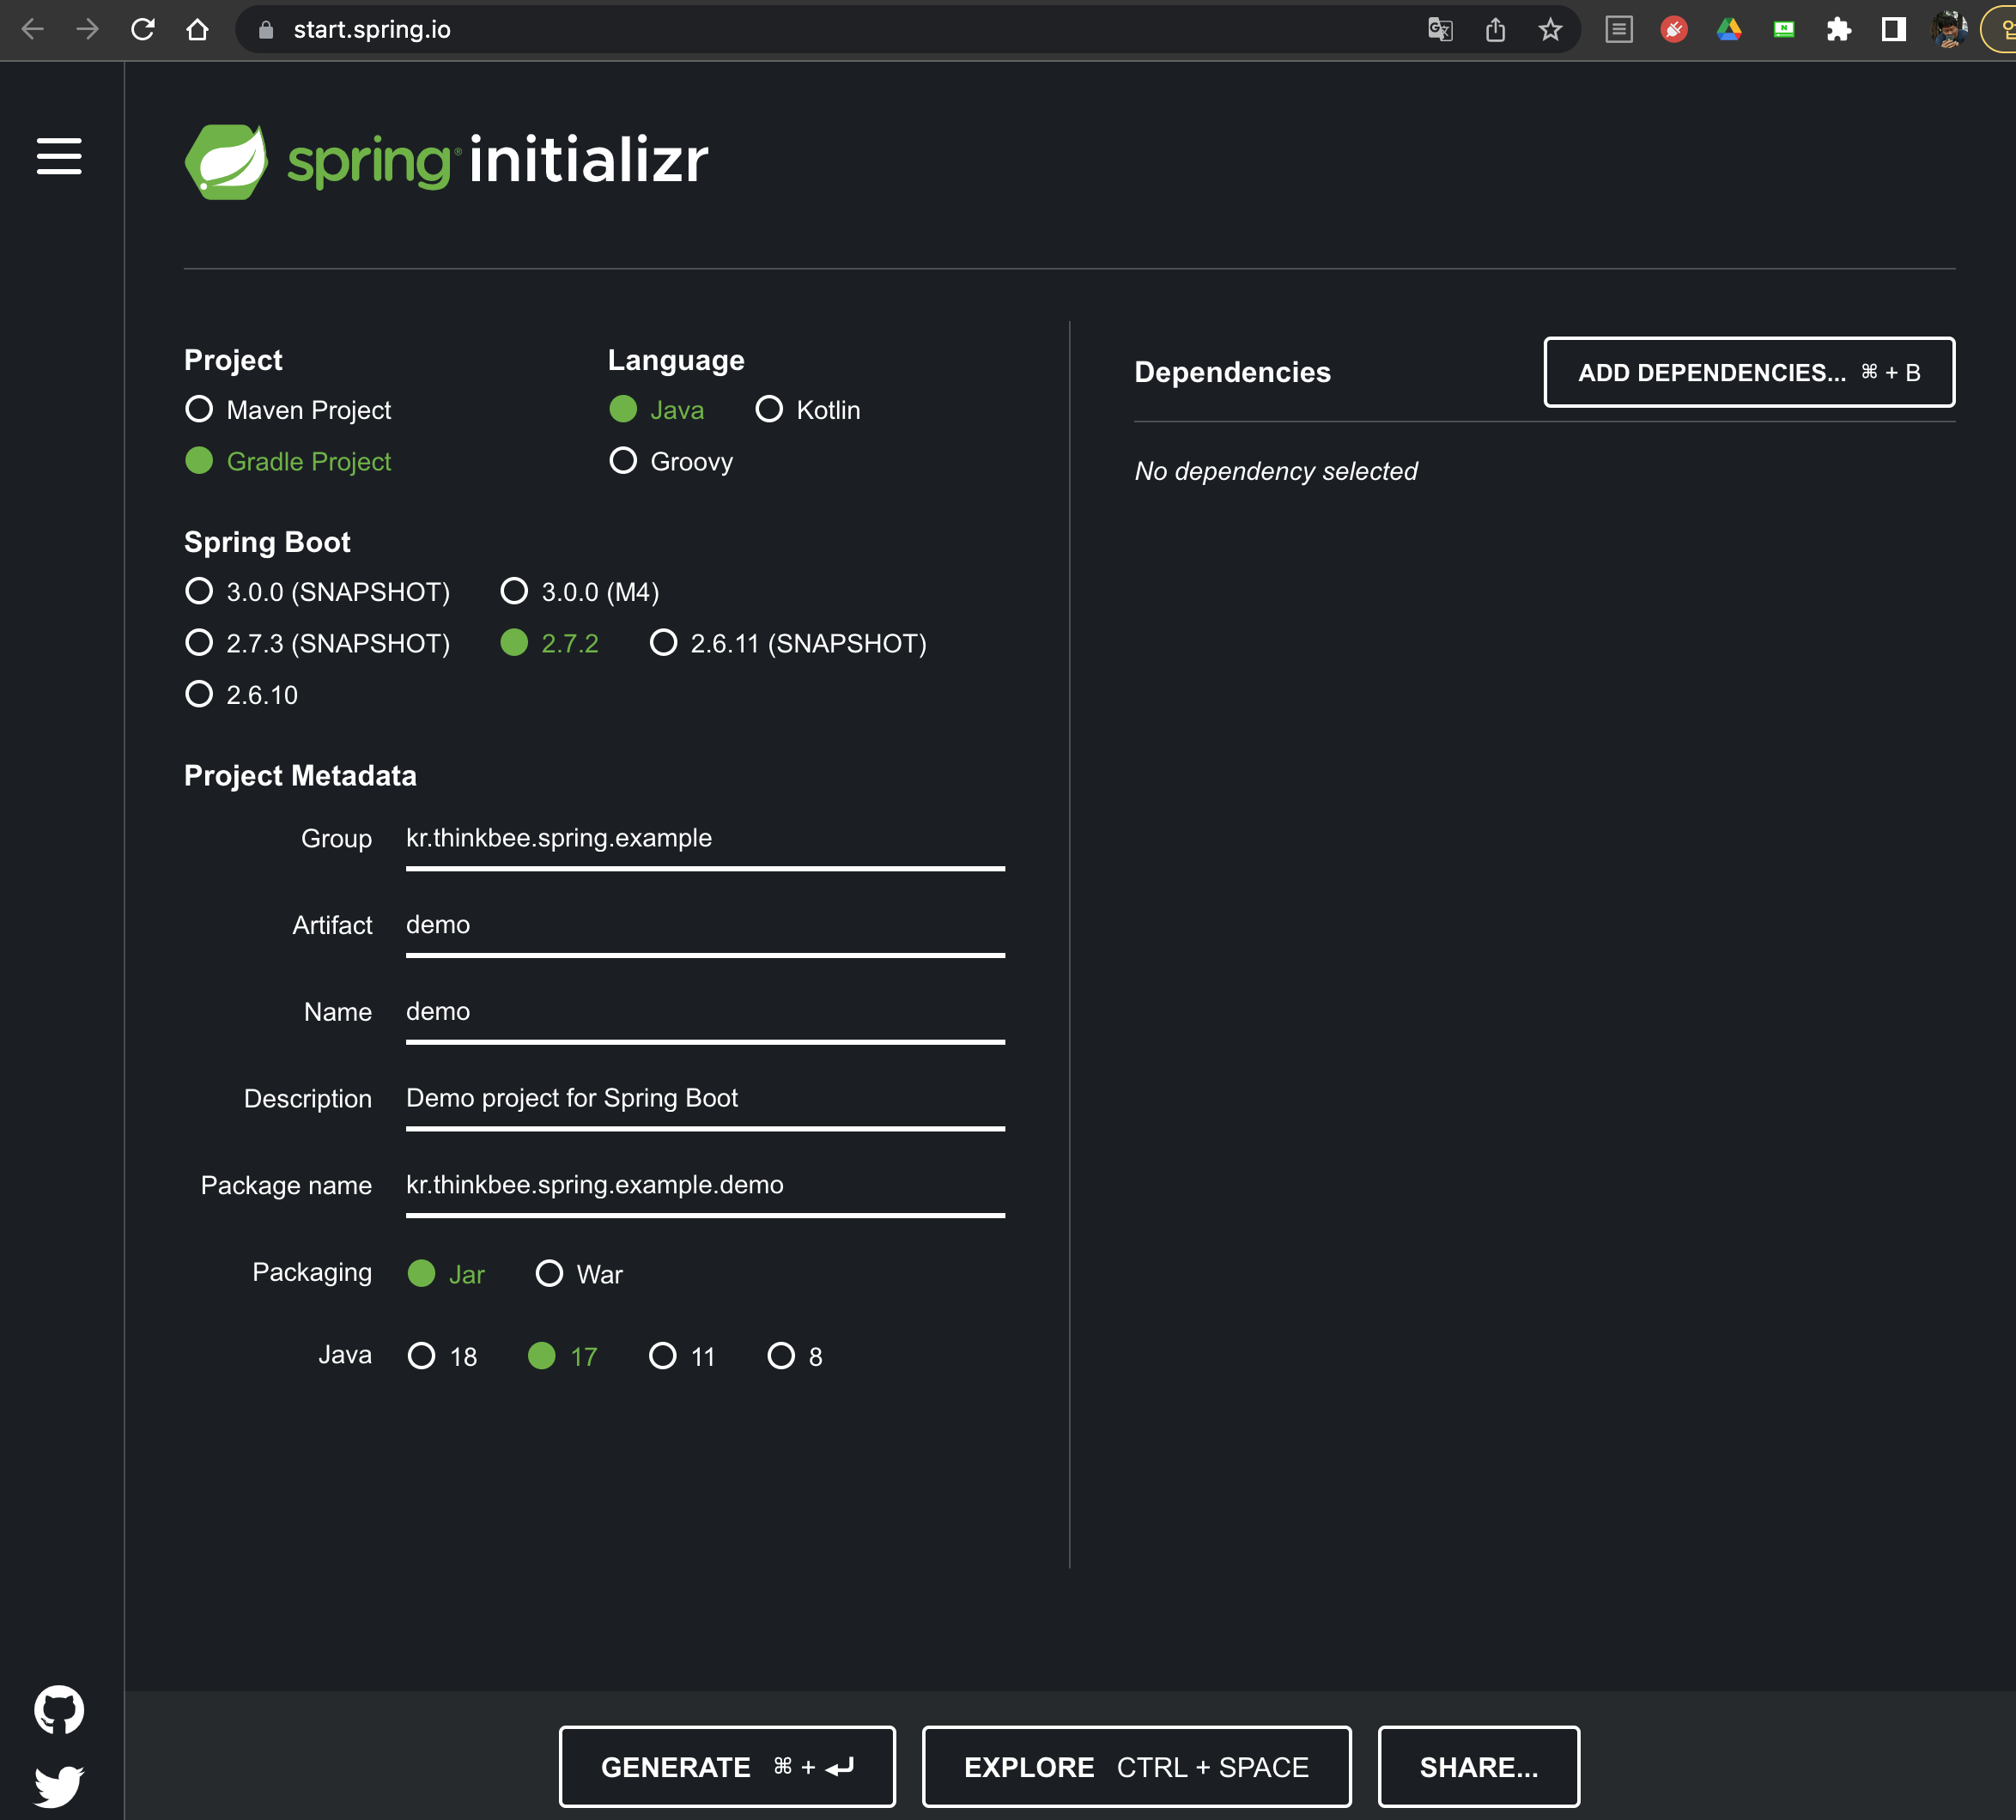
그리고 오른쪽 의존성 버튼을 눌러 Initializr 에서 의존성 플러그인을 추가한다.
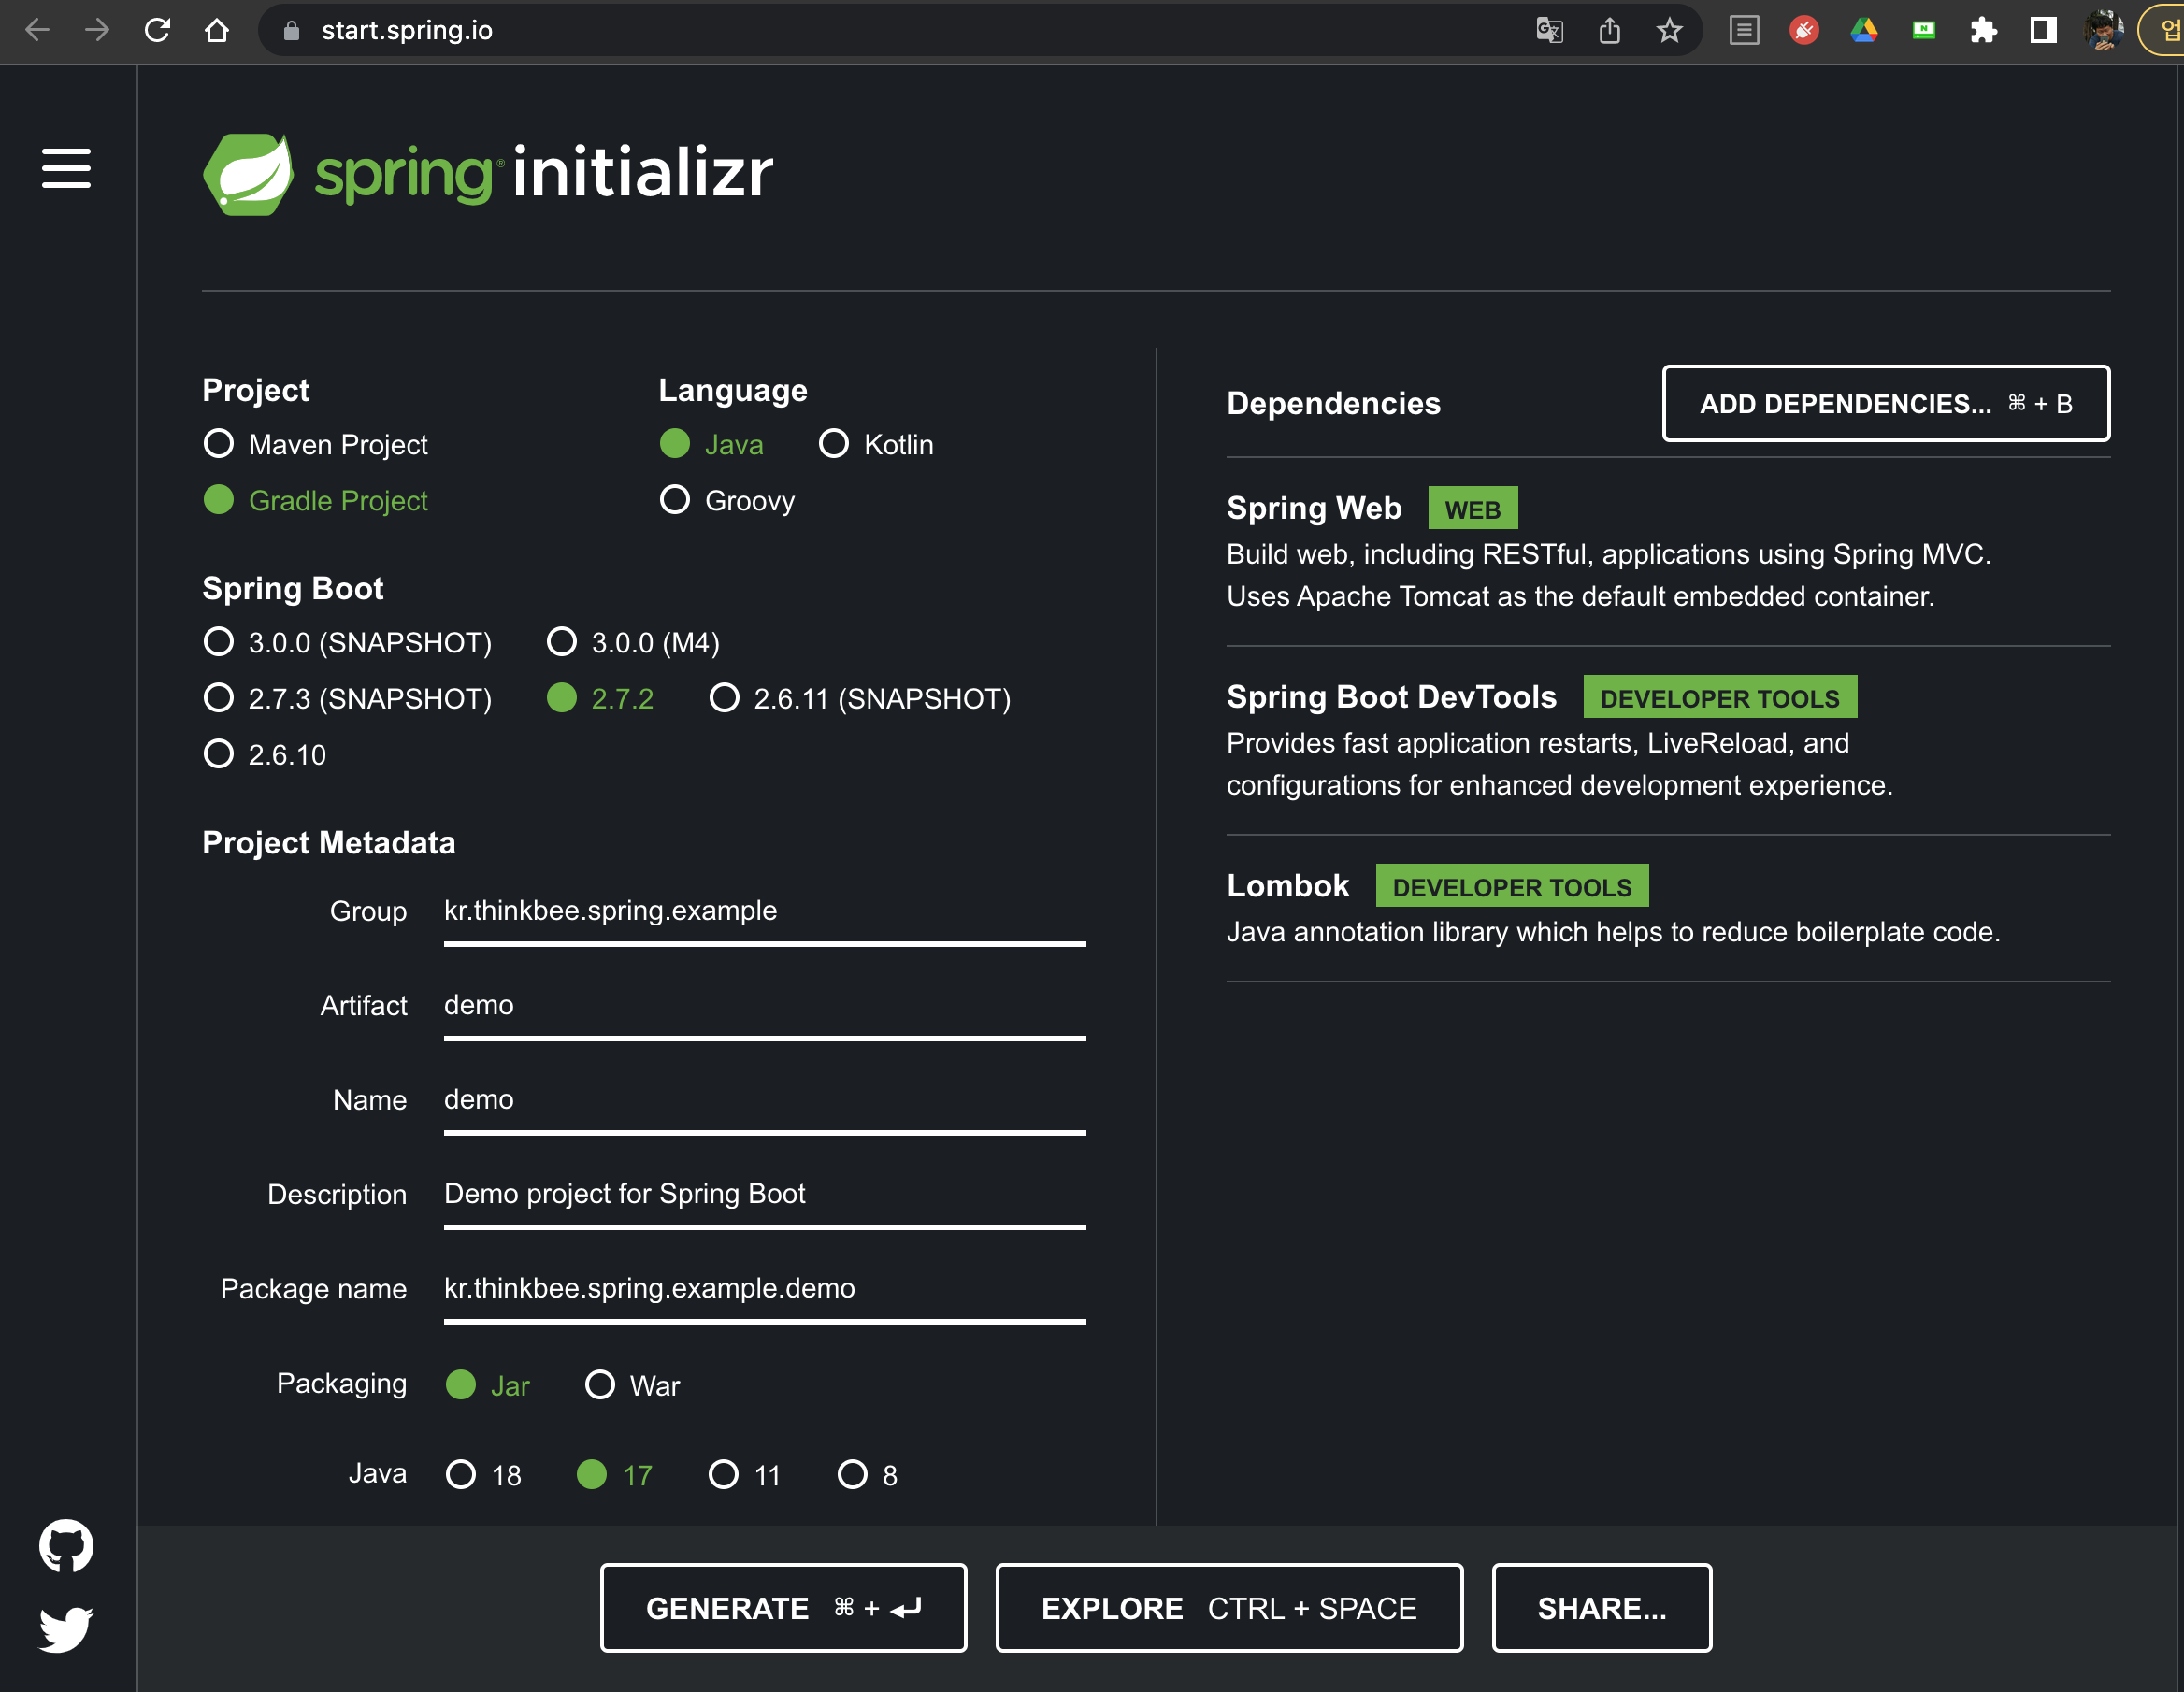
Dependencies 추가
Web 관련해
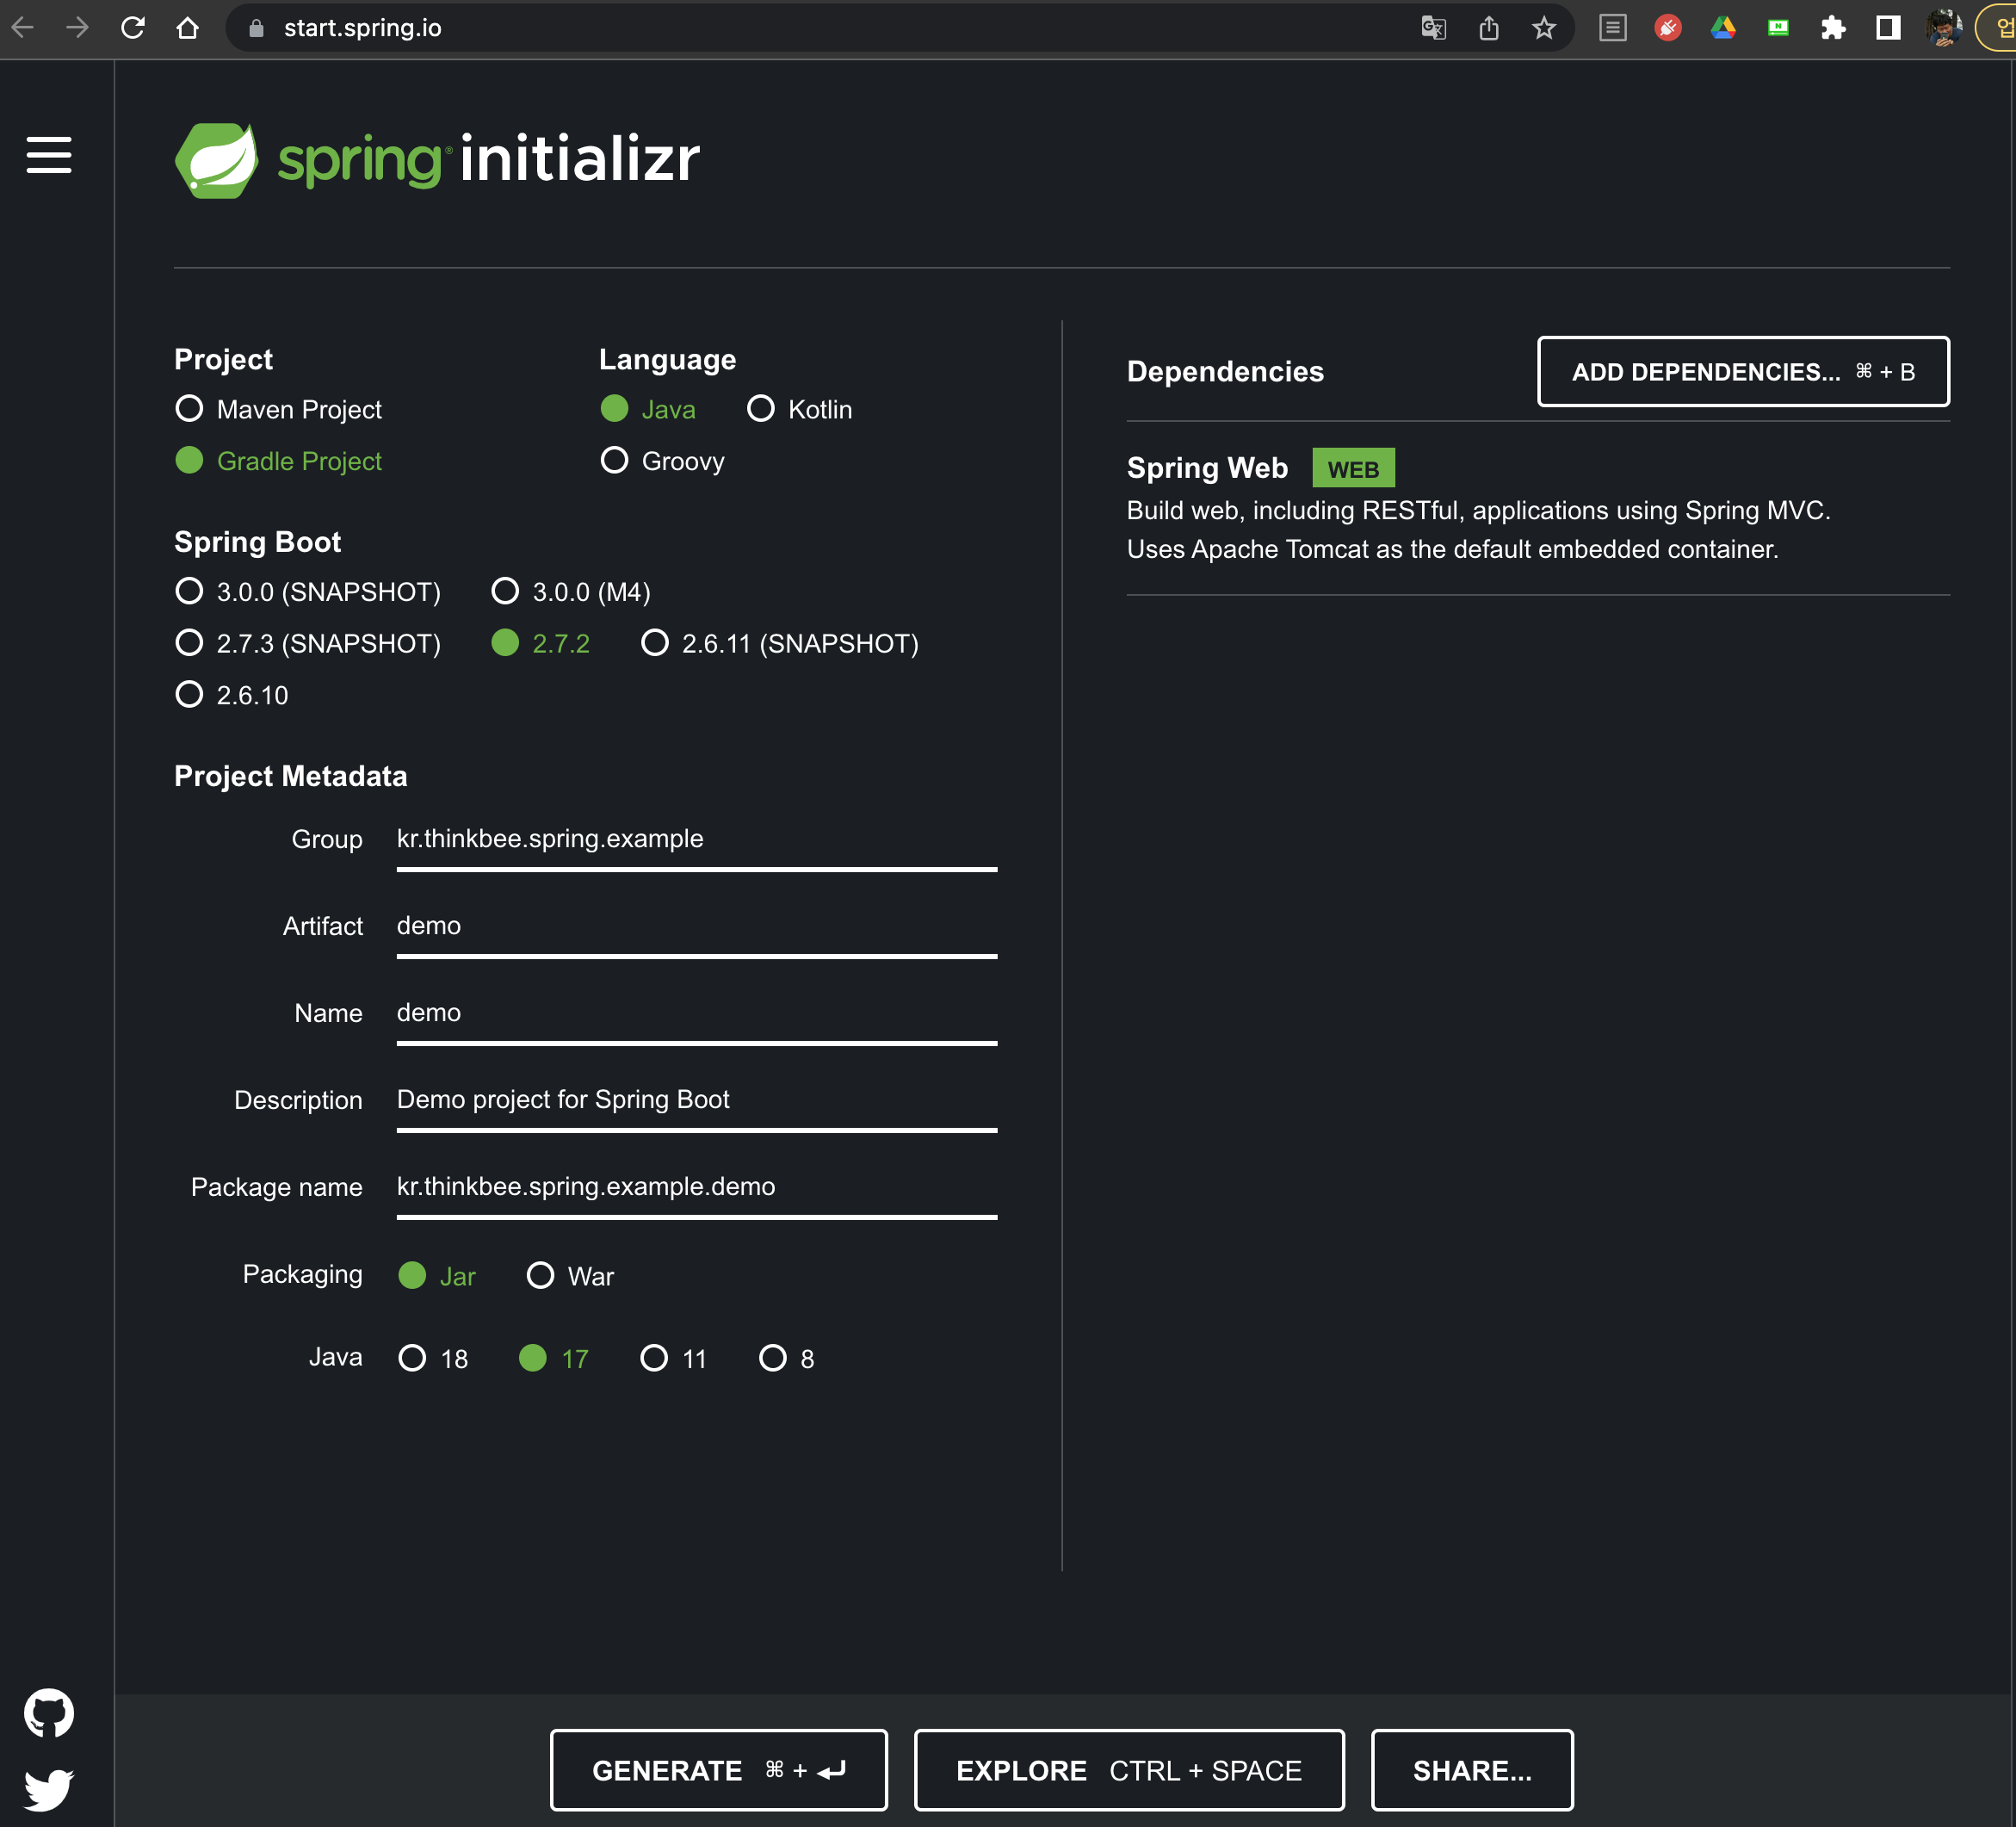
보통은 Web, Dev tools 와 Lombok 플러그인을 지정한다.
Generate 로 샘플 프로젝트 다운로드
Initializr 에서 구성을 완료하고 의존성 모듈을 추가한 후에 Generate 버튼을 누르면 압축된 프로젝트가 다운로드 된다. 이 압축 파일을 풀어서 Intellij 에서 연다.
run
src/main 에서 java 파일을 열면 실행 버튼이 활성화 된다.

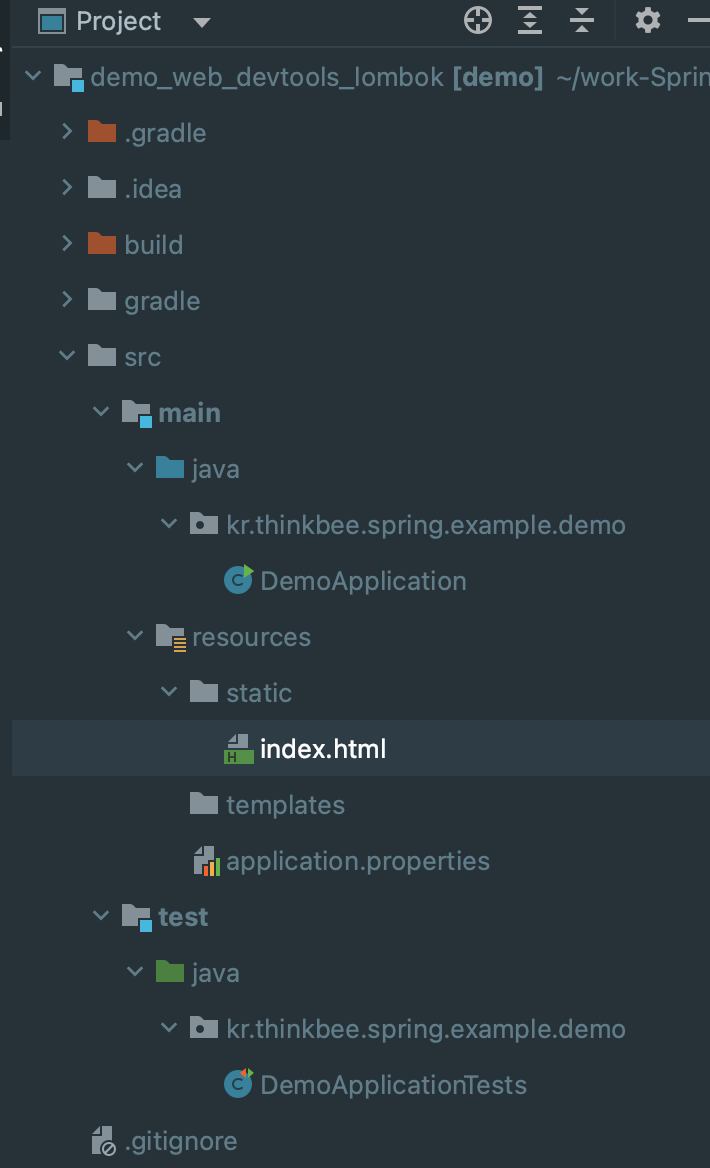
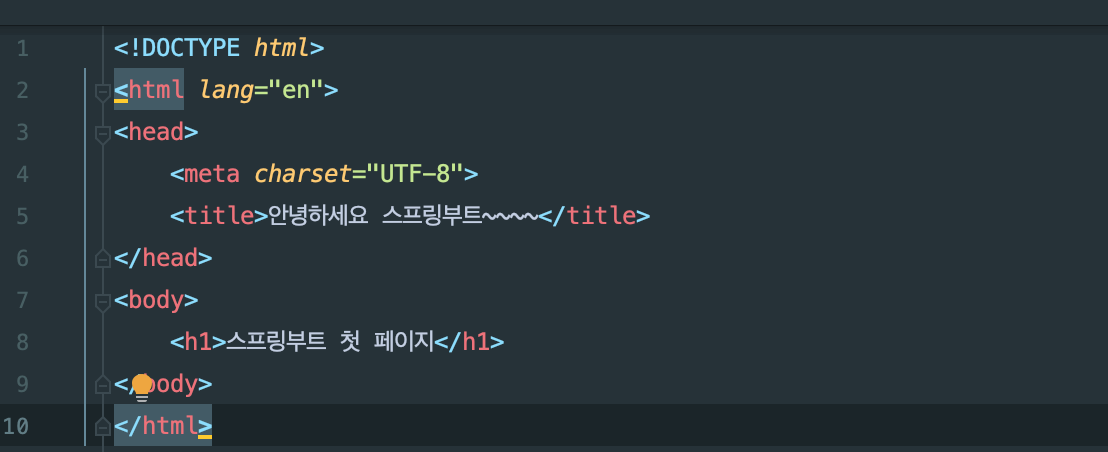
index.html 파일 추가하기
src/main/resources/static 폴더에 index.html 파일을 추가한다.
파일에 HTML 로 아래 같이 입력한다.
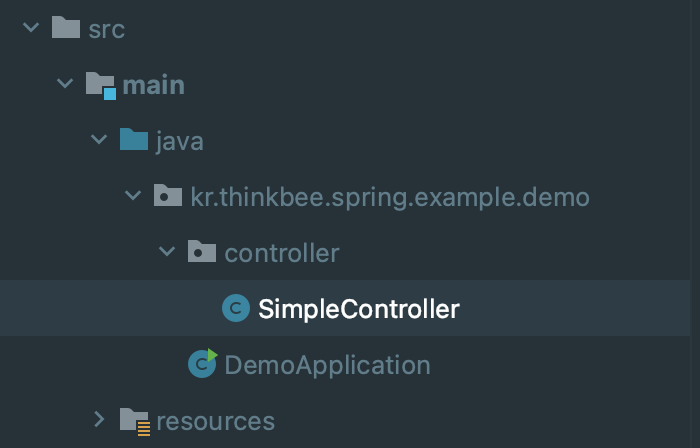
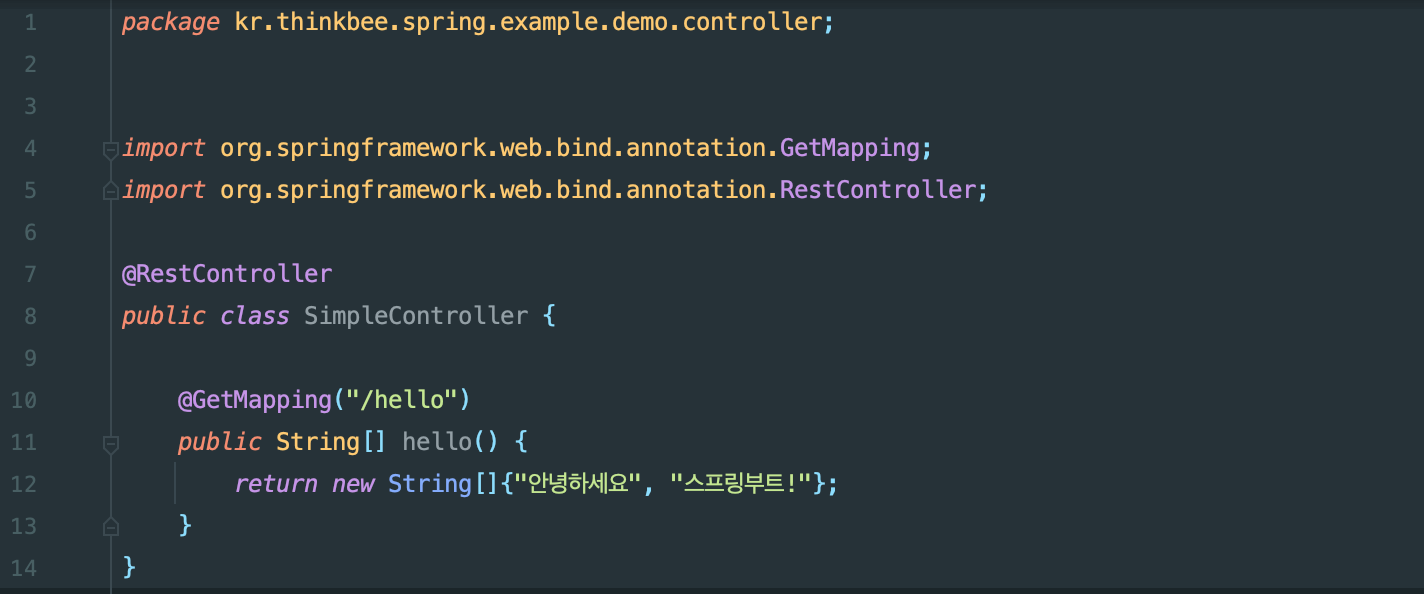
프로젝트에 컨트롤러 추가하기
Spring Web 의존성을 추가해서 라이브러리를 설치하면 웹 관련 컨트롤러를 사용하기 좋다. 다음 같인 프로젝트에 컨트롤러 패키지를 추가하고 SampleController 클래스를 추가한다.
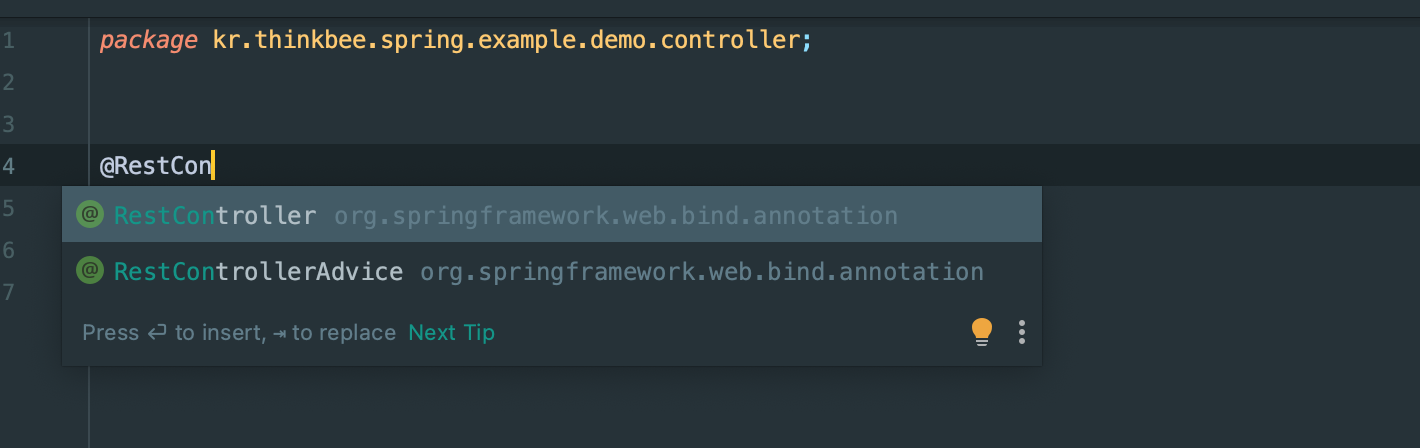
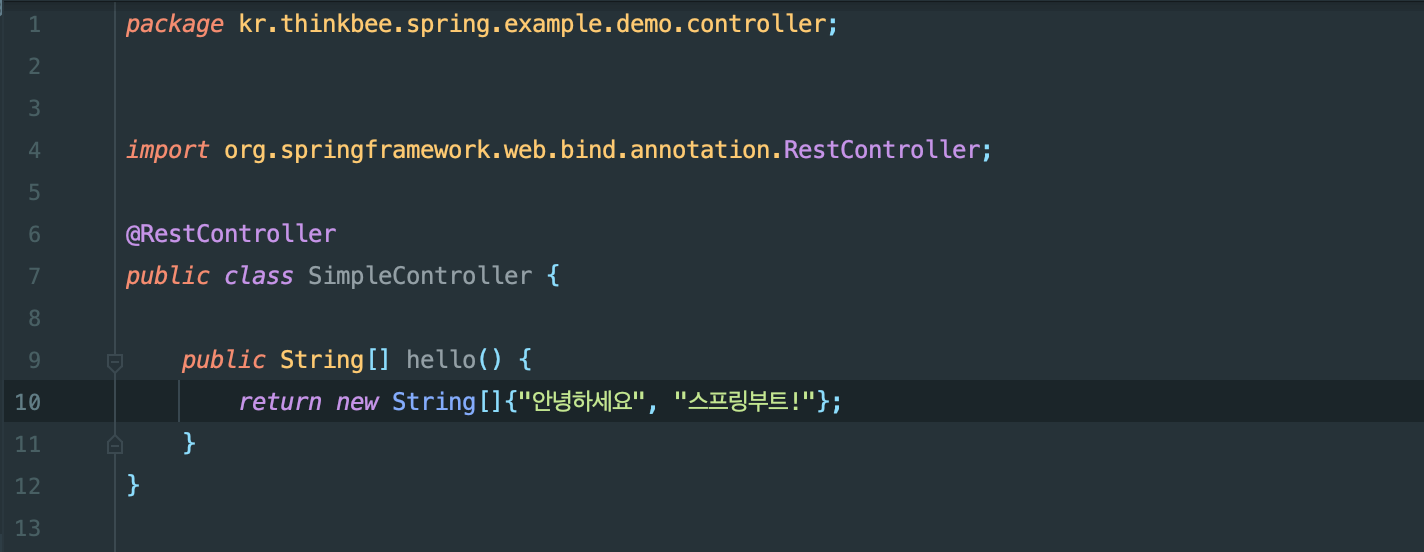
어노테이션으로 RestController 를 지정한다.
hello 메서드를 작성한다.
Uri 연계를 위해서 Mapper 어노테이션을 지정한다.
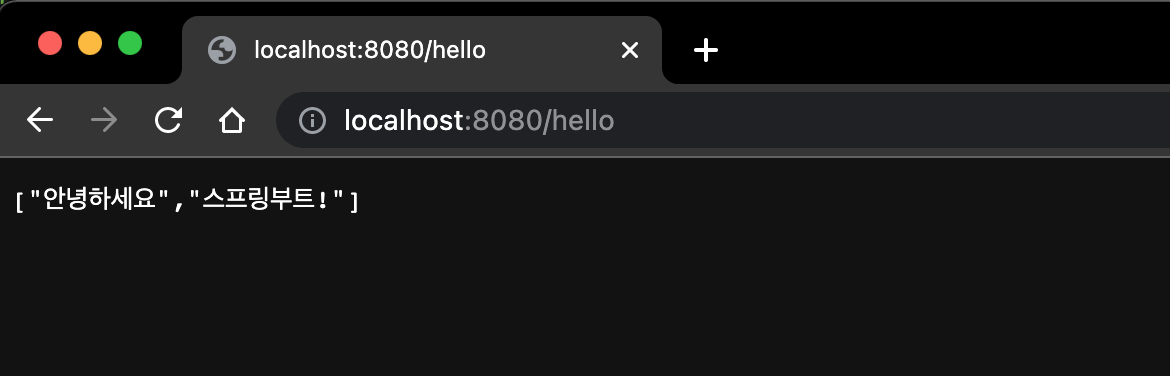
이제 http://localhost:4000/hello 주소를 요청한다.
실행 가능한 배포본 만들기
스프링 프로젝트는 Tomcat 같은 WAS 가 필요하고 이를 배포하는 방법이 필요했다. 스프링 부트는 단독으로 실행 가능한 웹 애플리케이션을 jar 형태로 제작하고 사용하는 것이 가능하다.
Gradle 을 사용해서 몇 번의 클릭만으로 실행 가능한 웹 애플리케이션을 제작할 수 있다 물론 실행을 위해서는 Java 환경이 필요한다.
Gradle Task 사용
Gradle view 의 task 에서 bootjar 항목을 실행한다.
프로젝트의 build 폴더의 lib 폴더에 프로젝트 이름+0.01-SNAPSHOT.jar 실행 파일이 생성되어 있는 것을 확인할 수 있다.
이 jar 를 다운로드해서 java 로 실행해 보자
1 | java -jar PROJECT-0.0.1-SNAPSHOT.jar |
IntelliJ Communication 사용한 Springboot 시작
https://thinkbee.github.io/Sprinboot-01-start-springboot_intellij-1d6af025258d/