R 소개
R은 벨 연구소 Becker 등에 의해 개발됐던 S language를 기반으로 통계 계산, 시각화를 위한 프로그래밍 언어를 포함한 개발환경이다. S language를 이용한 Insightful사의 S+는 S 언어를 이용한 상업용 소프트웨어이고, R은 공개소프트웨어 기반의 소프트웨어 이다.
- 예) Excel, SPSS, SAS, HLM, MPlus 등 통계 프로그램
소개
http://revolution-computing.typepad.com/.a/6a010534b1db25970b01676908ecaf970b-pi
설치
R 의 GUI 도구로 R Studio를 사용할 수 있다.
- http://r-project.org 의 CRAN mirror에서 R을 다운받아 설치한다.
- RStudio 설치
R 시작하기
R 은 console을 통해 프로그래밍을 하거나 외부 에디터에서 작성한 소스를 컴파일해서 실행 할 수 있다.
macOS에서 R 시작시 다음 같은 경고를 보이면 macOS FAQ를 참고해 설정을 해주어야 한다.
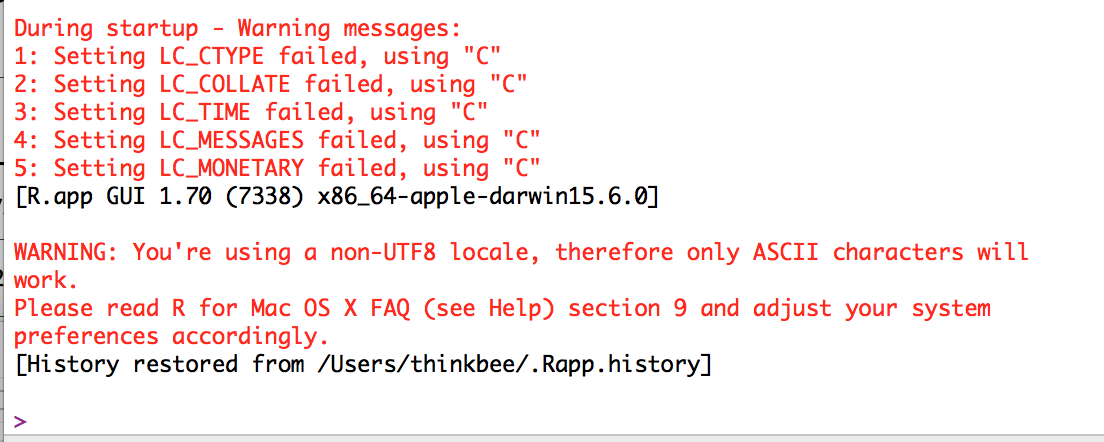
[그림. ]
prompt
R을 실행하면 명령 입력 프롬프트 ‘>’을 볼 수 있다. 프롬프트에서 한 줄에 하나 혹은 한문장의 명령이 입력되고 실행된다.
1 | print(“Hello World”) |
에서 명령을 입력하고 엔터로 실행이 되지만 괄호((),{},[])가 닫히지 않으면 ‘+’ 프로프트에서 계속 입력할 수 있다.
help() 사용
R에서 도움말을 통해 함수, 형식, 등의 정보를 얻을 수 있다.
1 | > help(“함수명”) |
패키지를 로드하지 않은 함수의 도움말 보기
1 | > help.search(“함수명”) |
내가 얻은 패키지는 어떤 것인가?
1 | > help(package=”알고싶은 패키지명”) |
주요 도움말 명령 사용
1 | > help() # 도움말 창 |
object
다음 같이 hello 변수와 값을 대입하고 hello 변수를 살펴본다.
1 | > hello <- “안녕하세요" #유니코드 문자열 |
Workspace
R에서 작업공간(workspace)에 사용자가 R을 이용하여 수행하는 자료와 분석 프로시져 등을 포함하게 된다.
- setwd( … ): 명령으로 워크스페이스 변경
- getwd(): 현재 워크스페이스 경로
- list.files(PATH): 경로의 파일 목록을 반환
R의 종료를 위해서는 명령문 프롬프트에서 **q()**를 실행하던가 메뉴로부터 “종료”를 선택한다.
종료시 워크스페이스에 작업된 자료를 저장할 수 있다.
R 객체 이용하기
R의 최소 단위는 벡터
정수(1), 실수(5.8271), 문자(‘A’) 문자열(“hello”)는 스칼라이다.
벡터는 {1,2,3,4,5,6}과 같이 스칼라가 여러 개 모인 것이이다.
한 개의 스칼라 값을 가진 벡터를 선언한다.
1 | > a <- 5 |
객체에 다른 객체 넣기
1 | > object1 <- 1 |
객체에 다른 객체 넣기
1 | > object1 <- 1 |
함수 계산 결과를 객체에 넣기
1 | > Excel1 <- read.csv(“example_student.csv”) |
Package 관리
외부에서 제공하는 모듈을 Install, Update, Library 명령으로 관리할 수 있다. 패키지 설치는 Install 그리고 사용할 때는 Library 명령을 사용하고 패키지 갱신에 Update 명령을 사용한다.
패키지 관리
패키지 설치과 업데이트
1 | > install.packages("패키지명") # 패키지 설치 |
설치된 패키지 목록 보기
1 | > Library() |
필수 패키지
1 | Install.packages(“rgl”) # 3D 그래프 보여주는 패키지 |
Github로 패키지 설치하기
개발자가 베타 버전을 github에 공개하는 경우
Knitr 패키지는 R에서 html, pdf, MS-Word 문서를 만들 수 있음고 https://github.com/yihui/knitr 에서 배포한다.
1 | > Install.packages(“devtools”) |
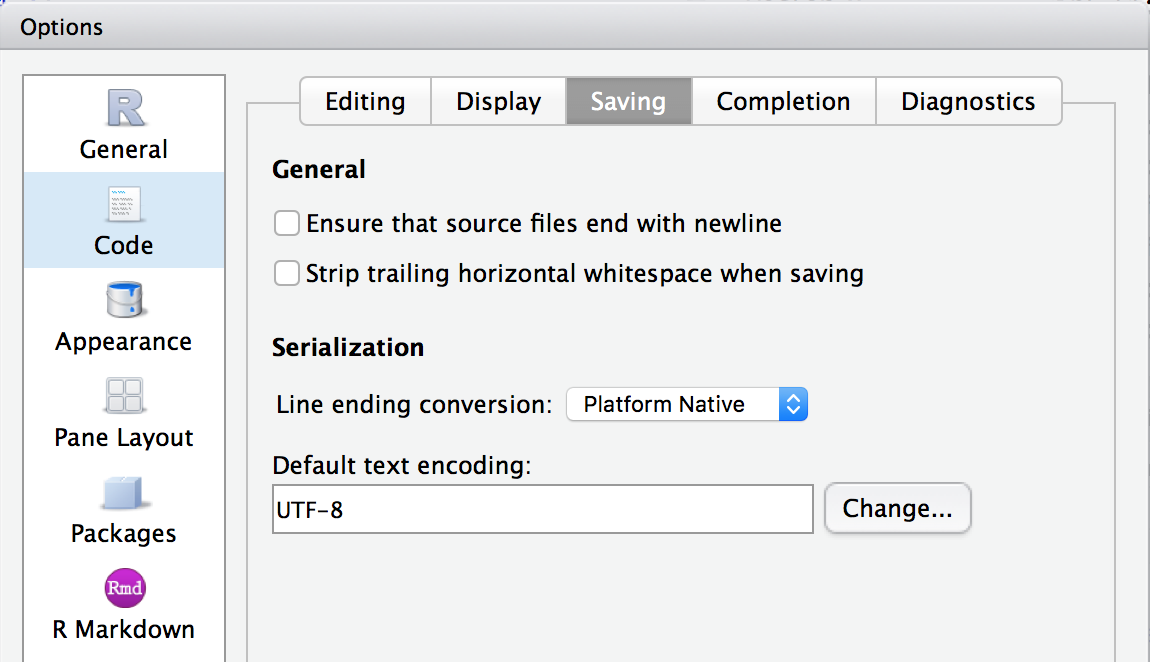
RStudio UTF8 지원