Firebase - Android Codelab (3): Auth
Firebase Android Codelab 에 있는 Authentication을 정리했다.
인증 활성화
채팅 메시지를 읽고 보내기 위해 인증을 추가해 보자
실시간 데이터 베이스
파이어베이스 실시간 데이터 베이스는 JSON 설정을 구성할 수 있다. 파이어베이스 프로젝트에 들어가 Database 를 선택하고
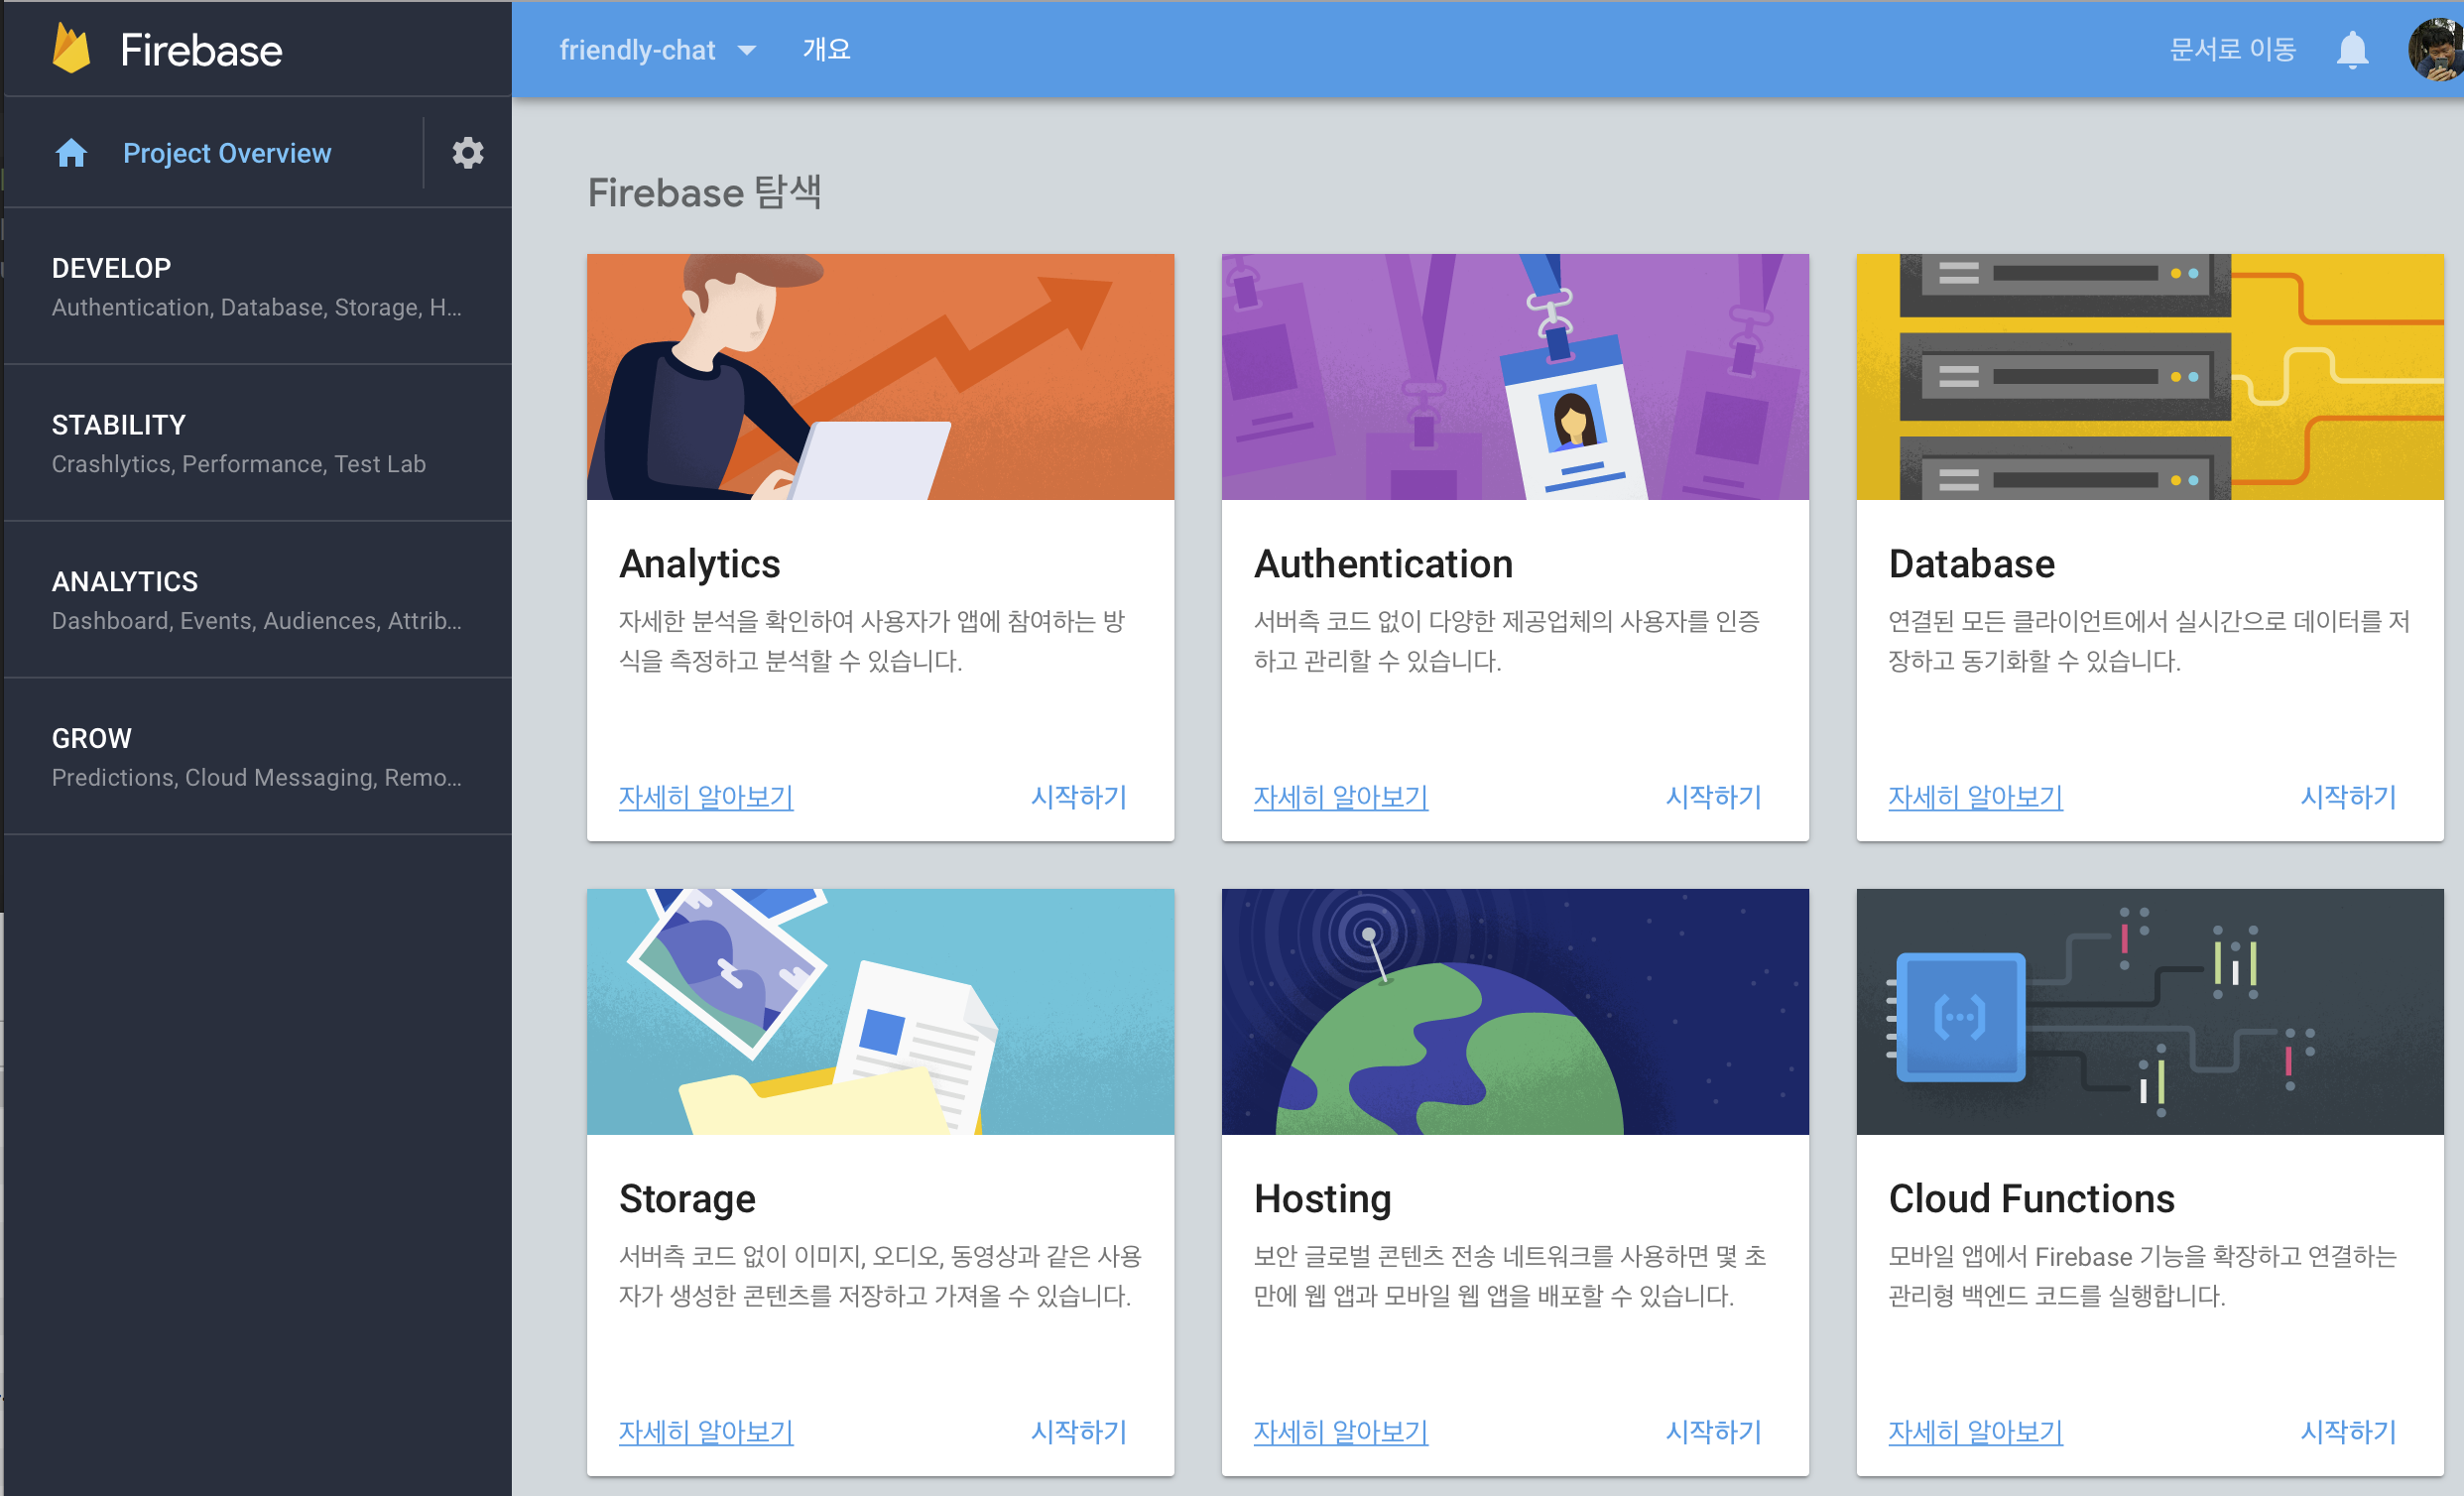 {:width=”500”}
*Realtime Database 탭을 시작해서
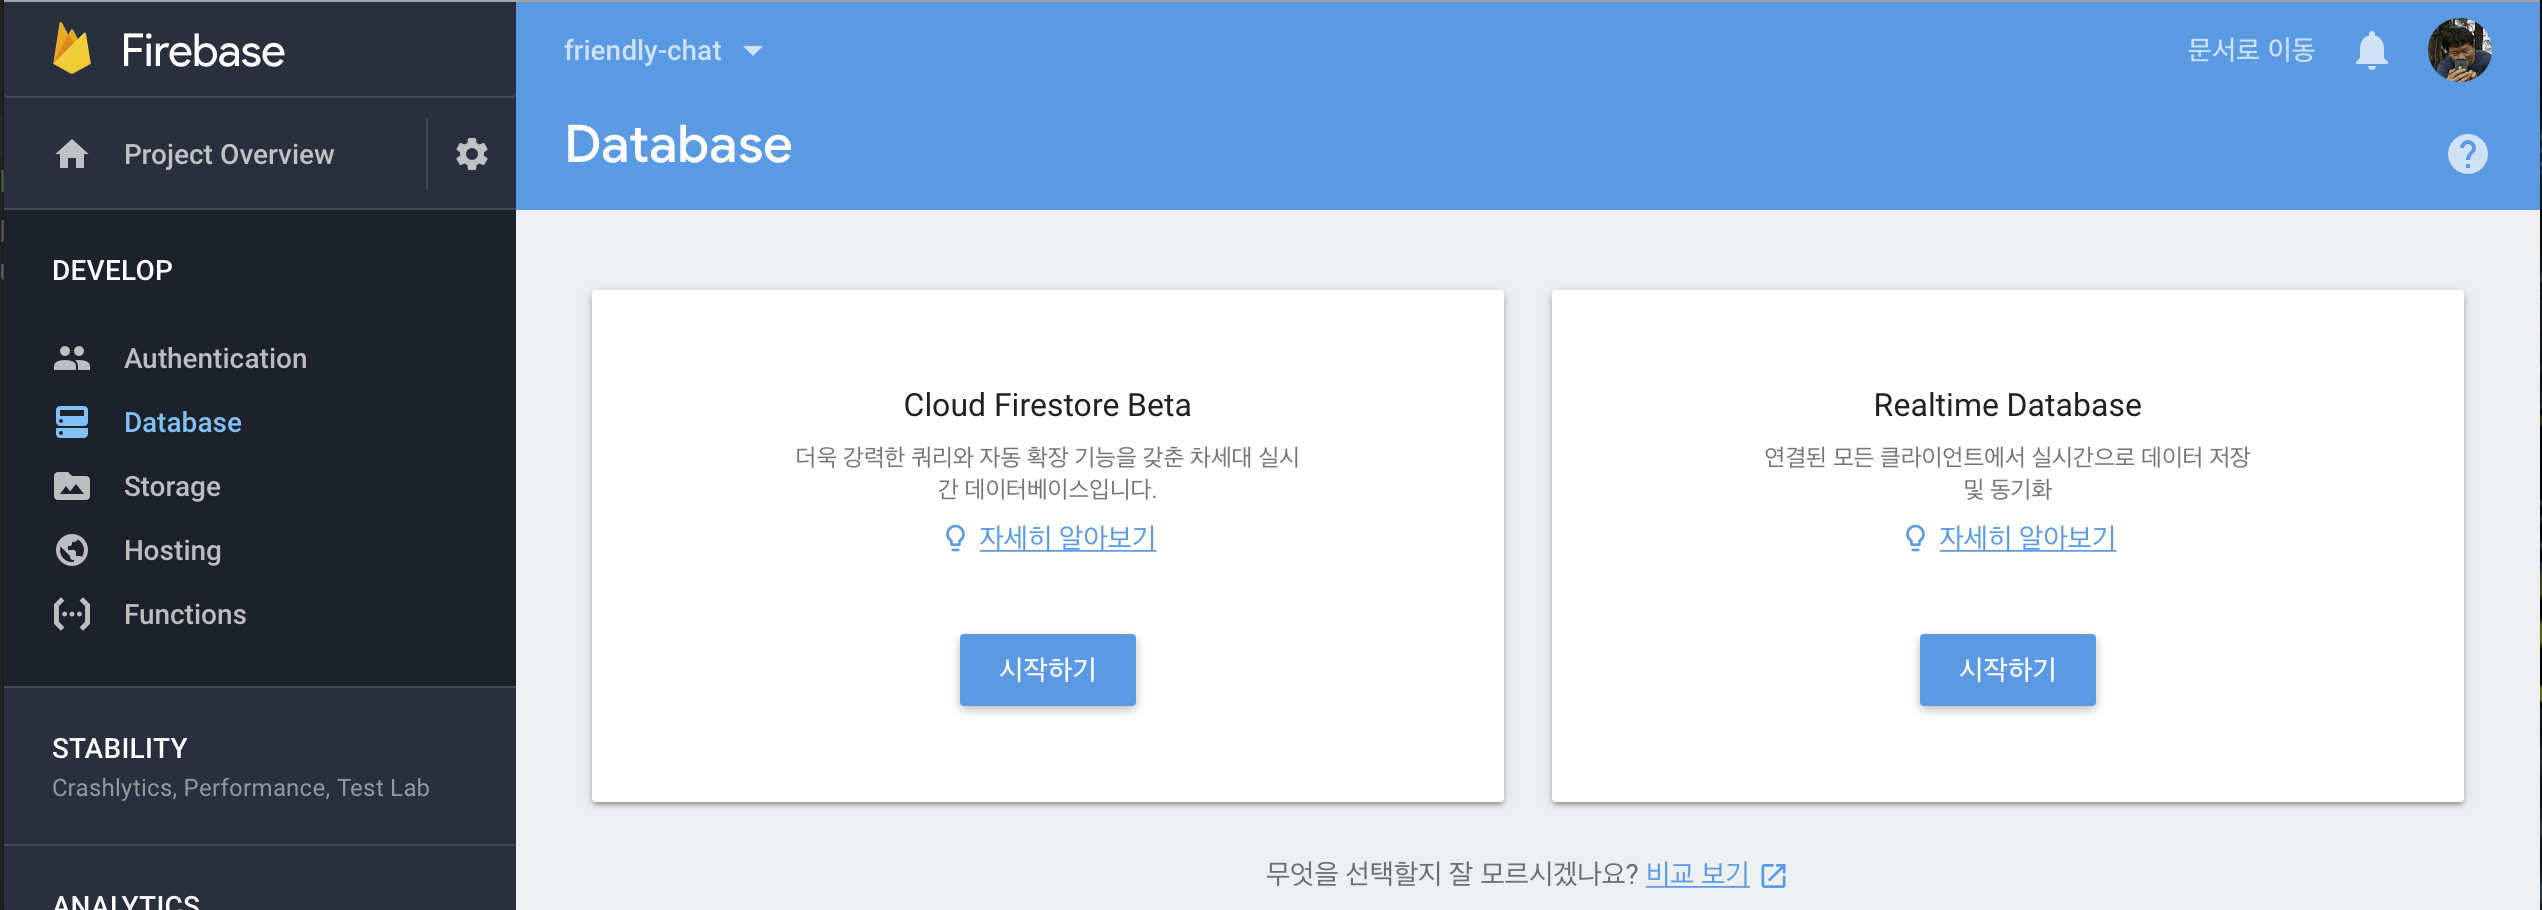 {:width=”500”}
규칙을 선언한다.
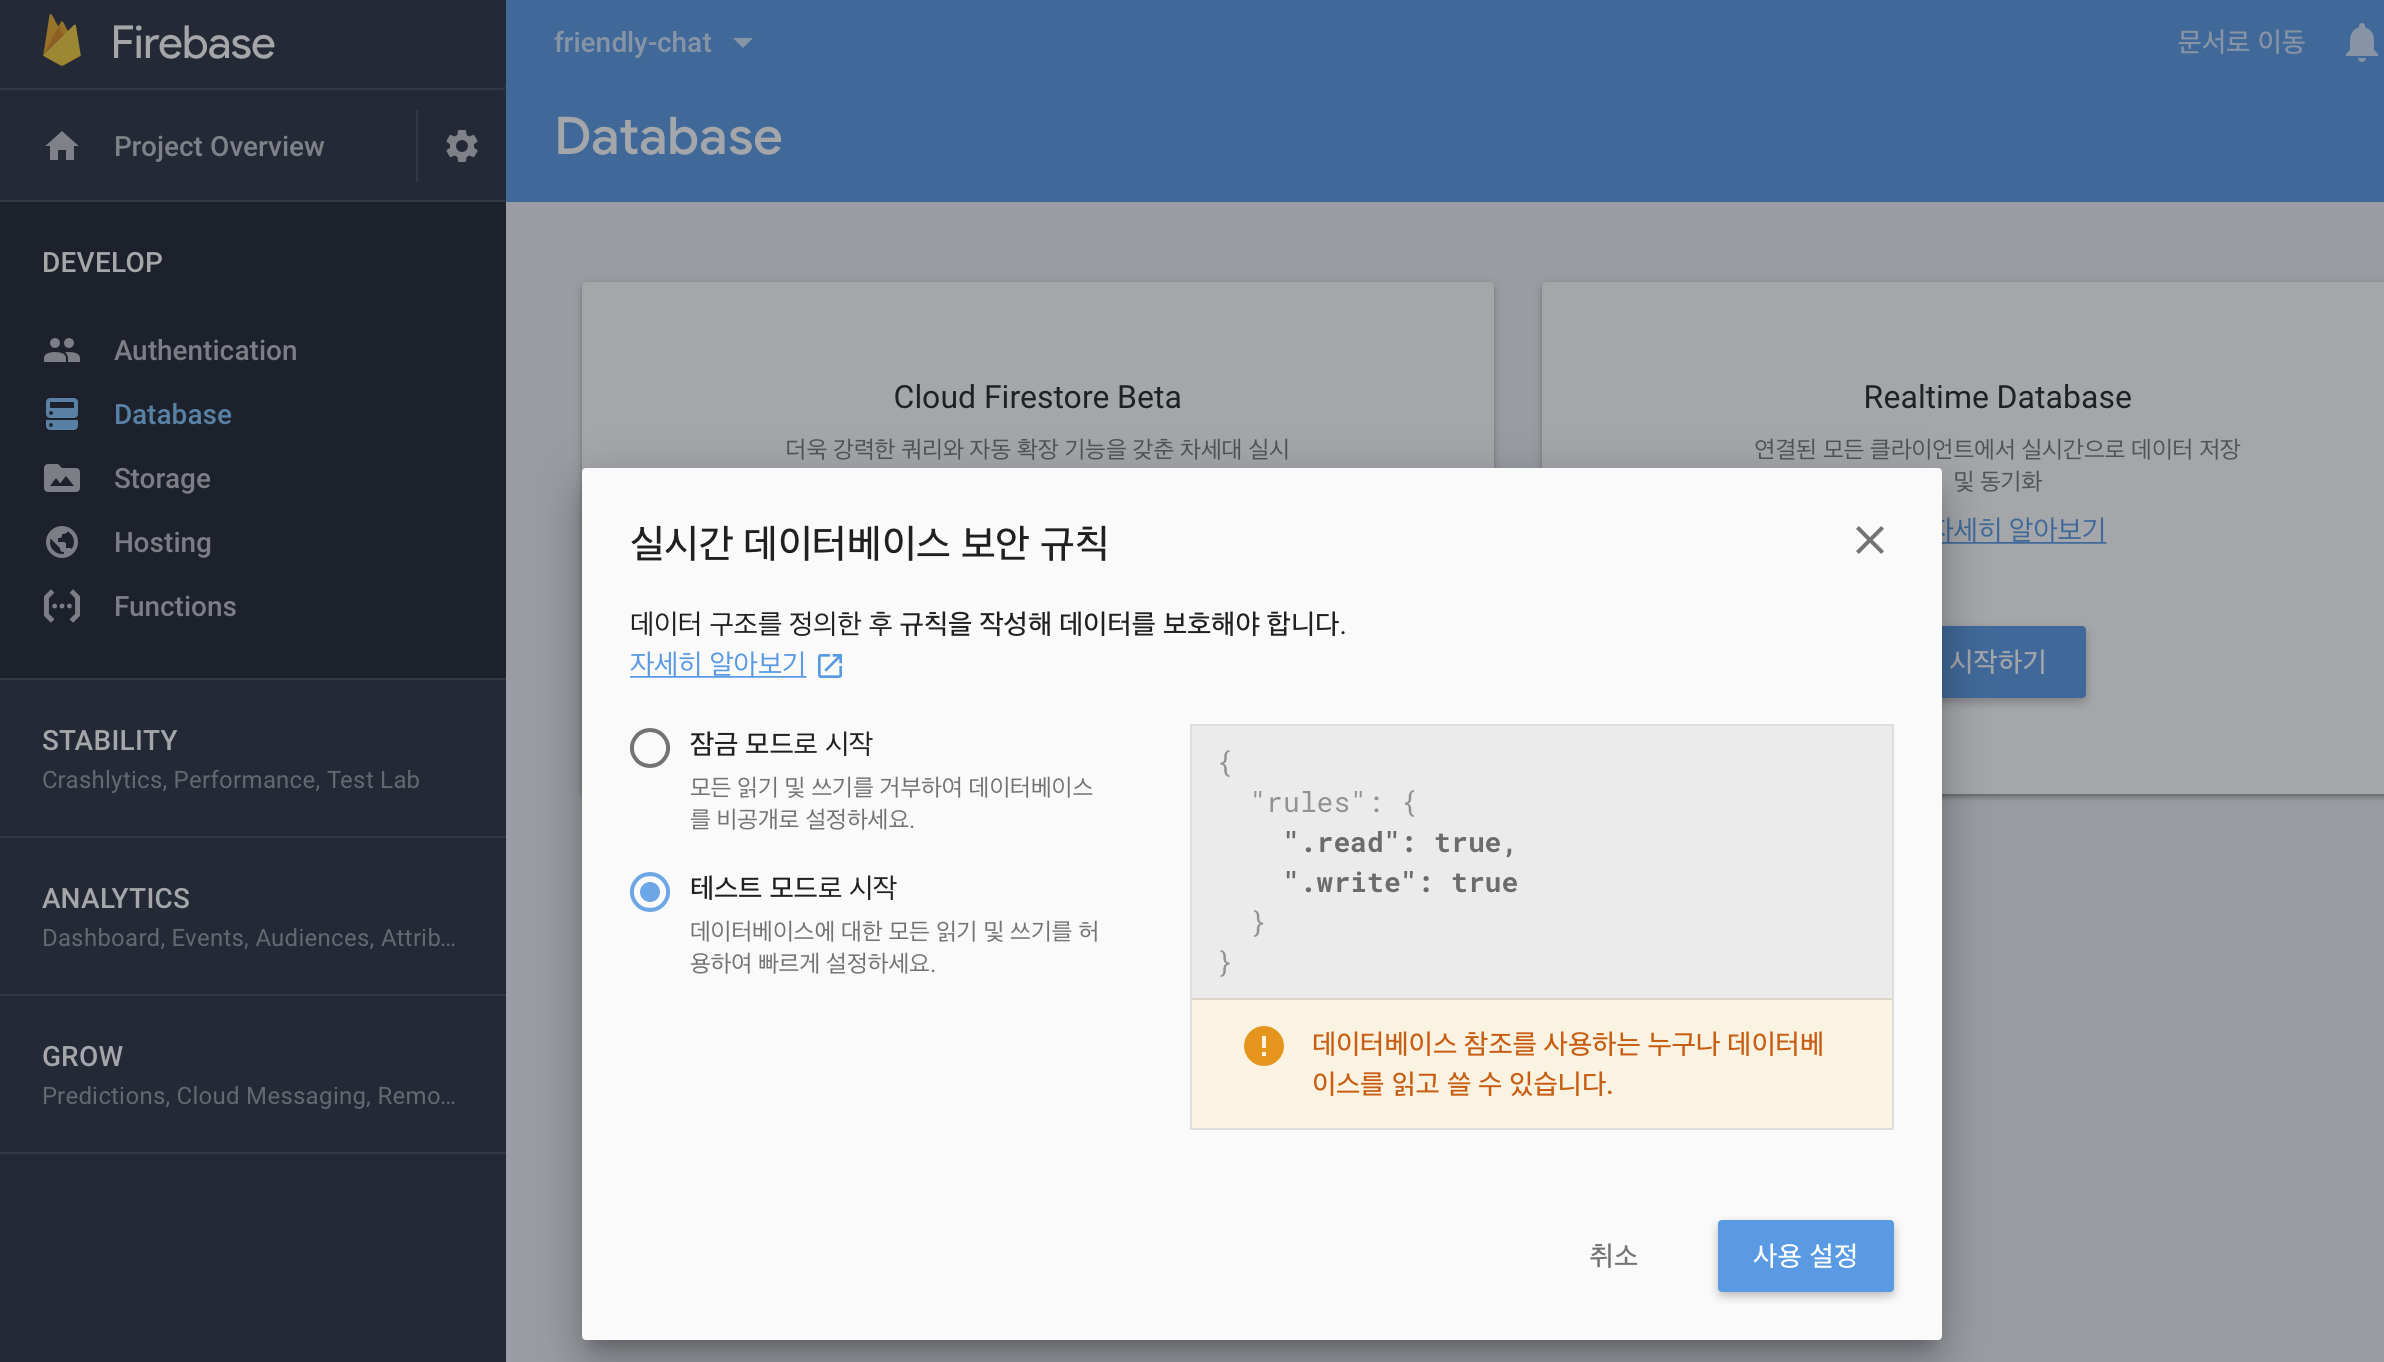 {:width=”500”}
인증후 사용할 수 있도록 아래 같이 구성한다.
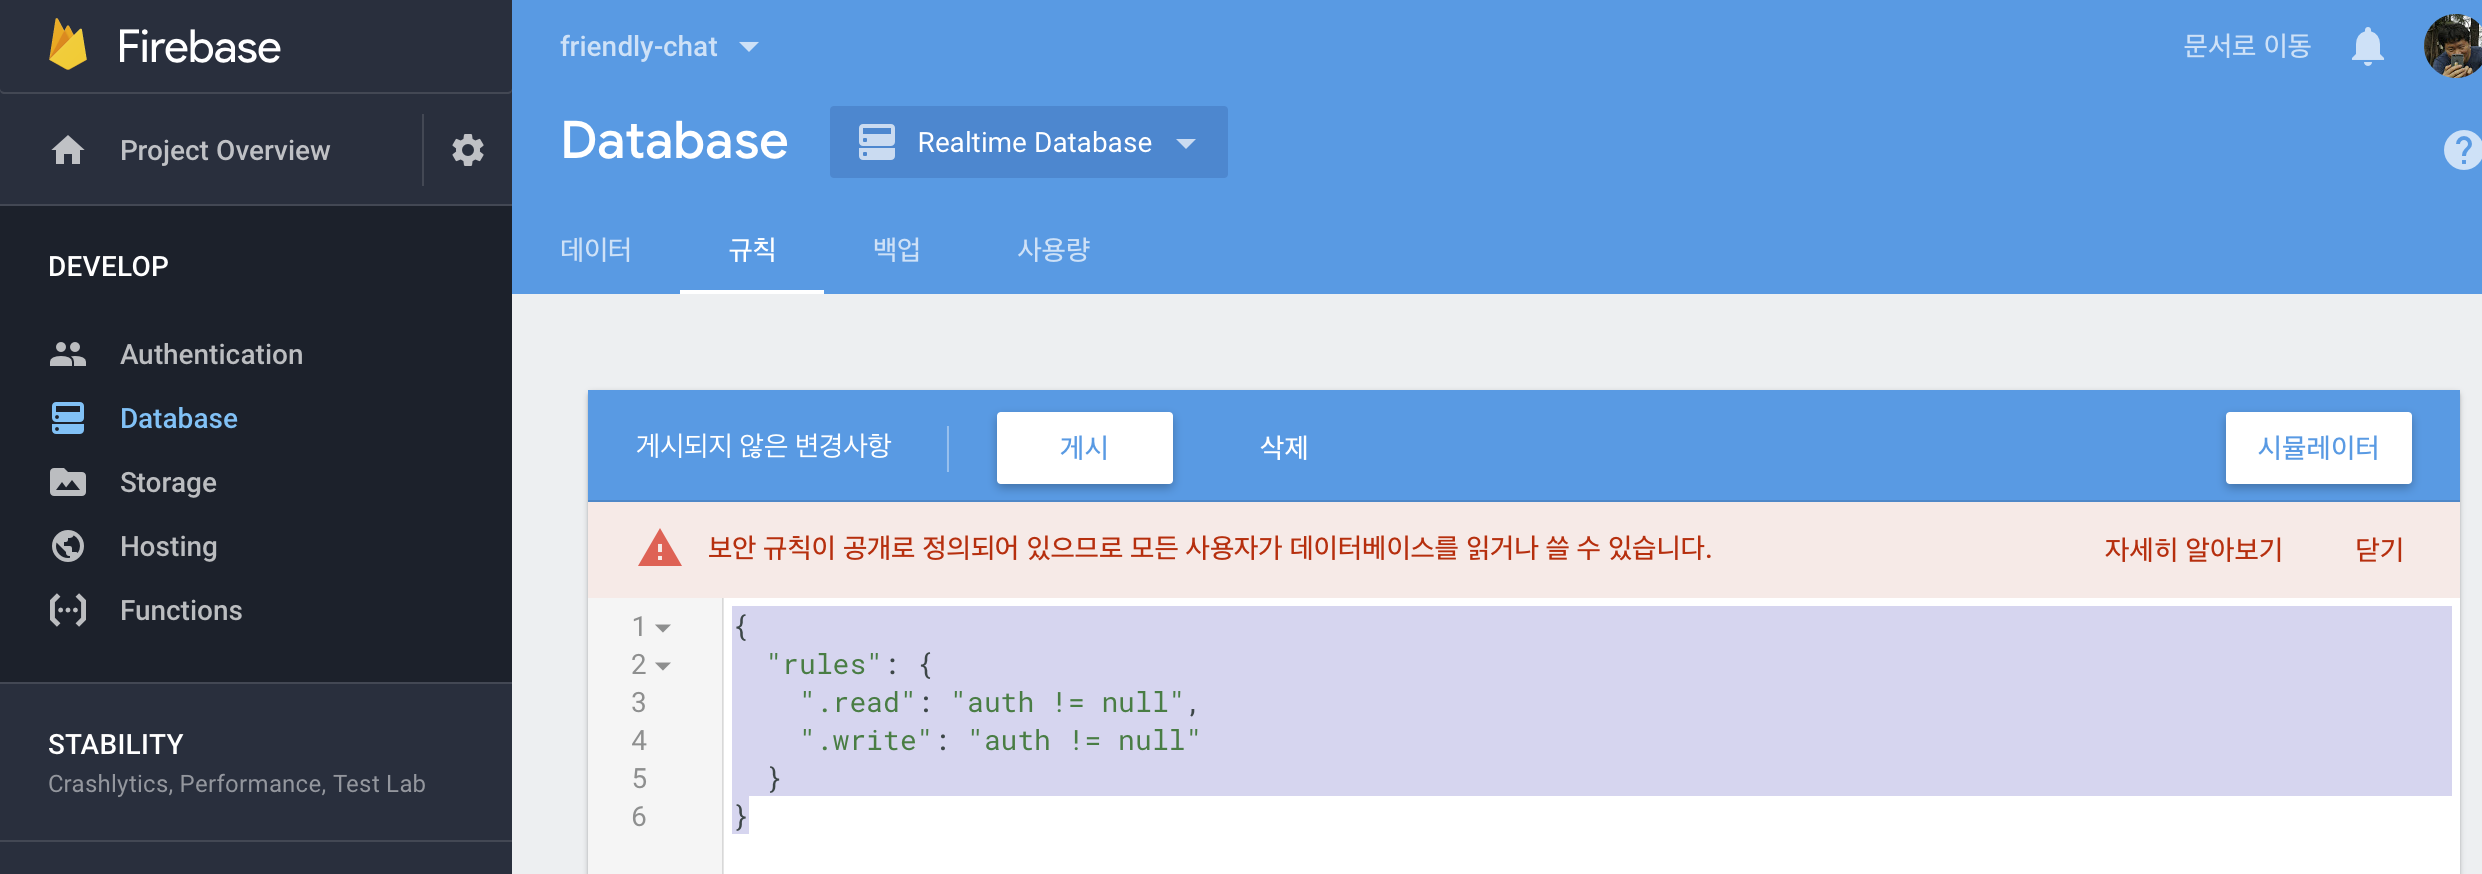 {:width=”500”}
Authentication API
파이어베이스 인증은
- Navigate to the Firebase console and select your project
- Select Authentication
- Select the Sign In Method tab
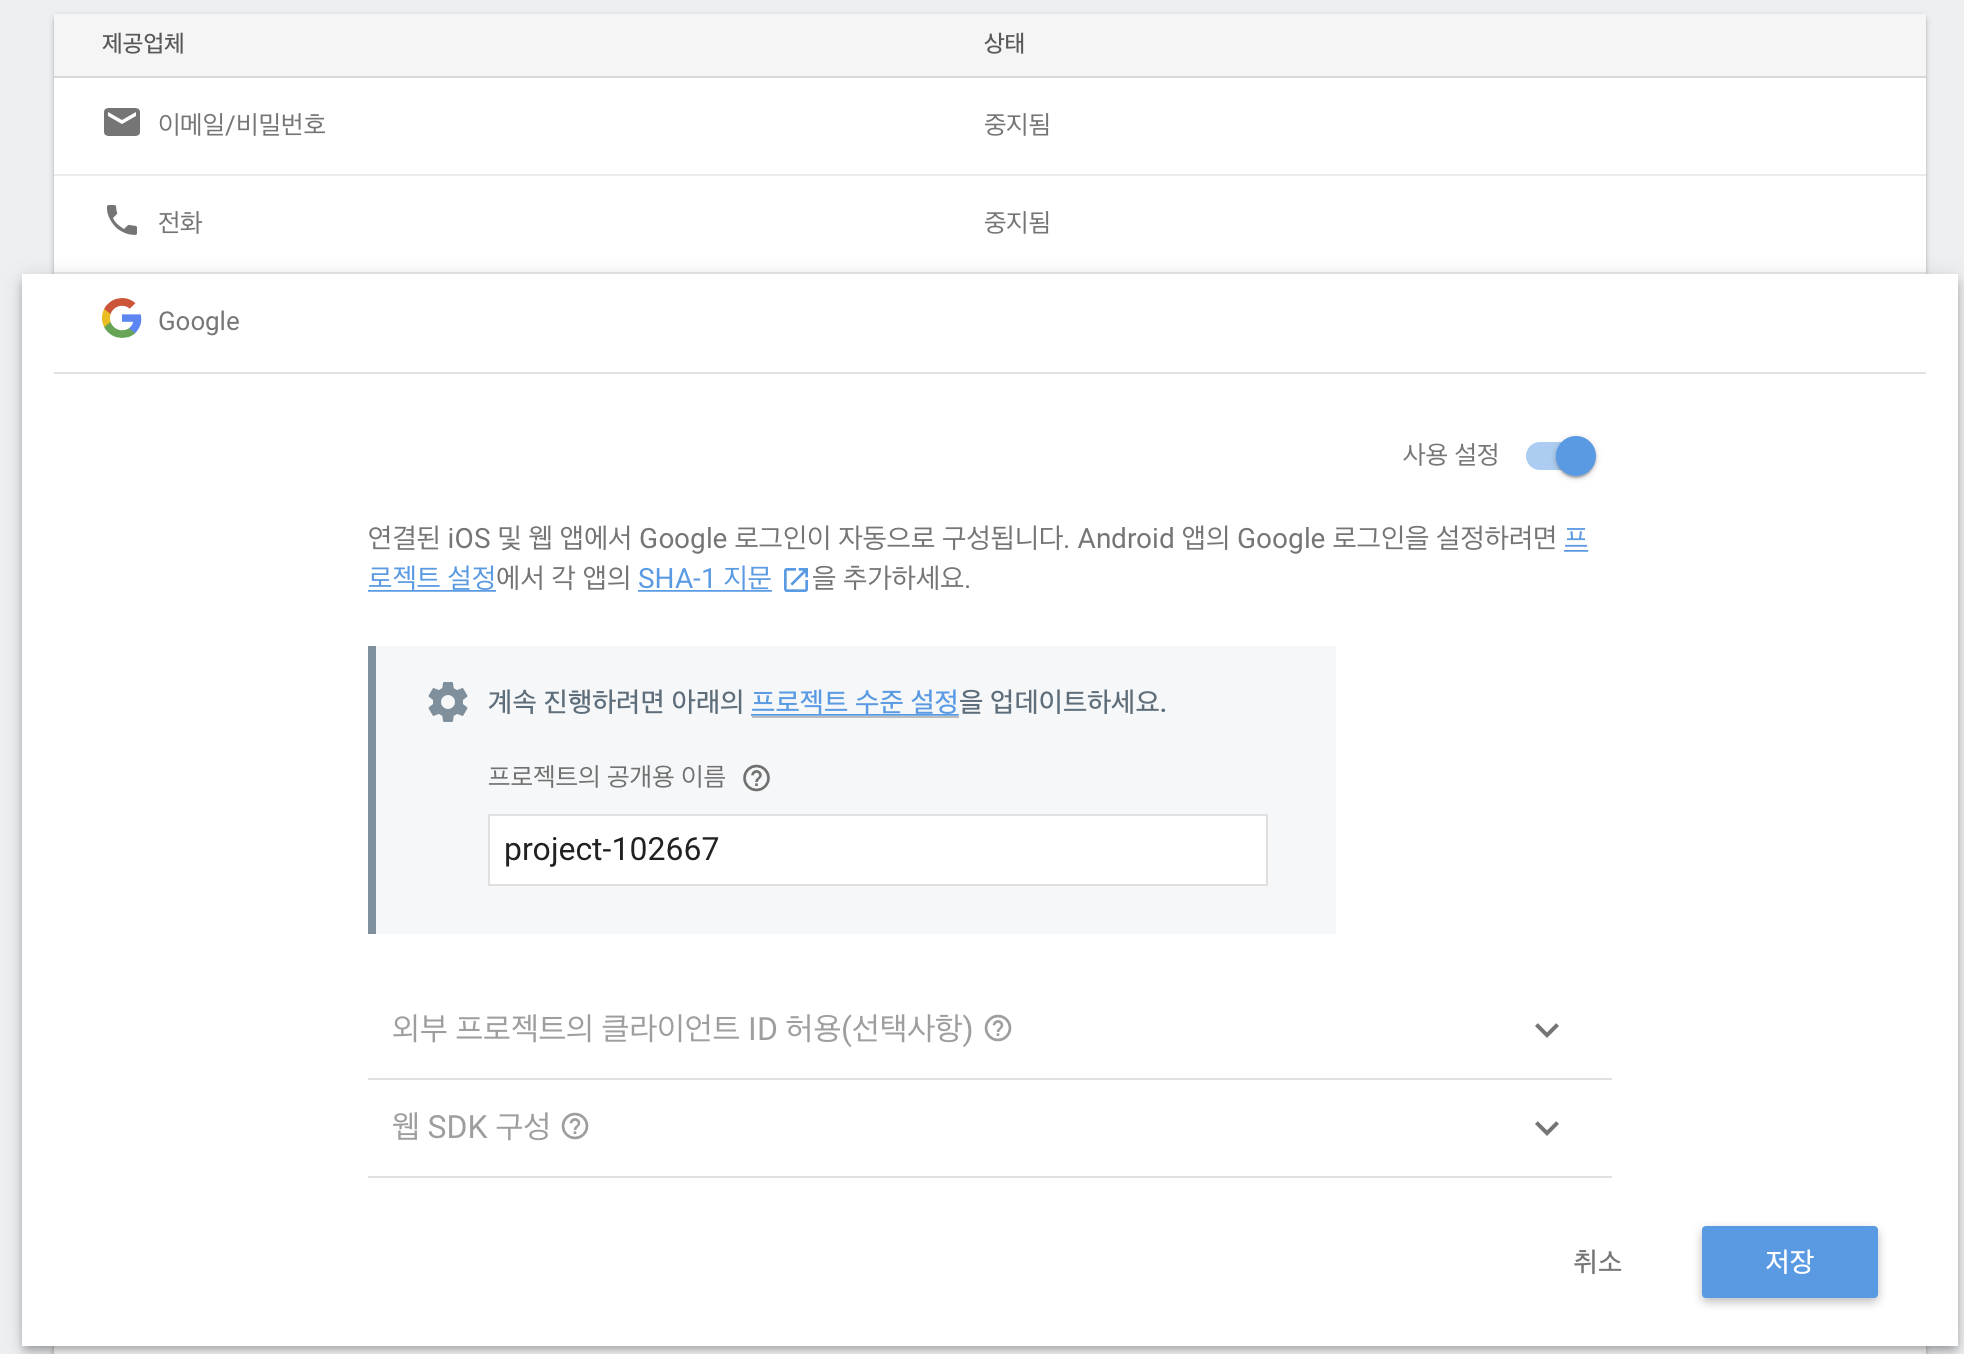
- Toggle the Google switch to enabled (blue)
- Press Save on the resulting dialog
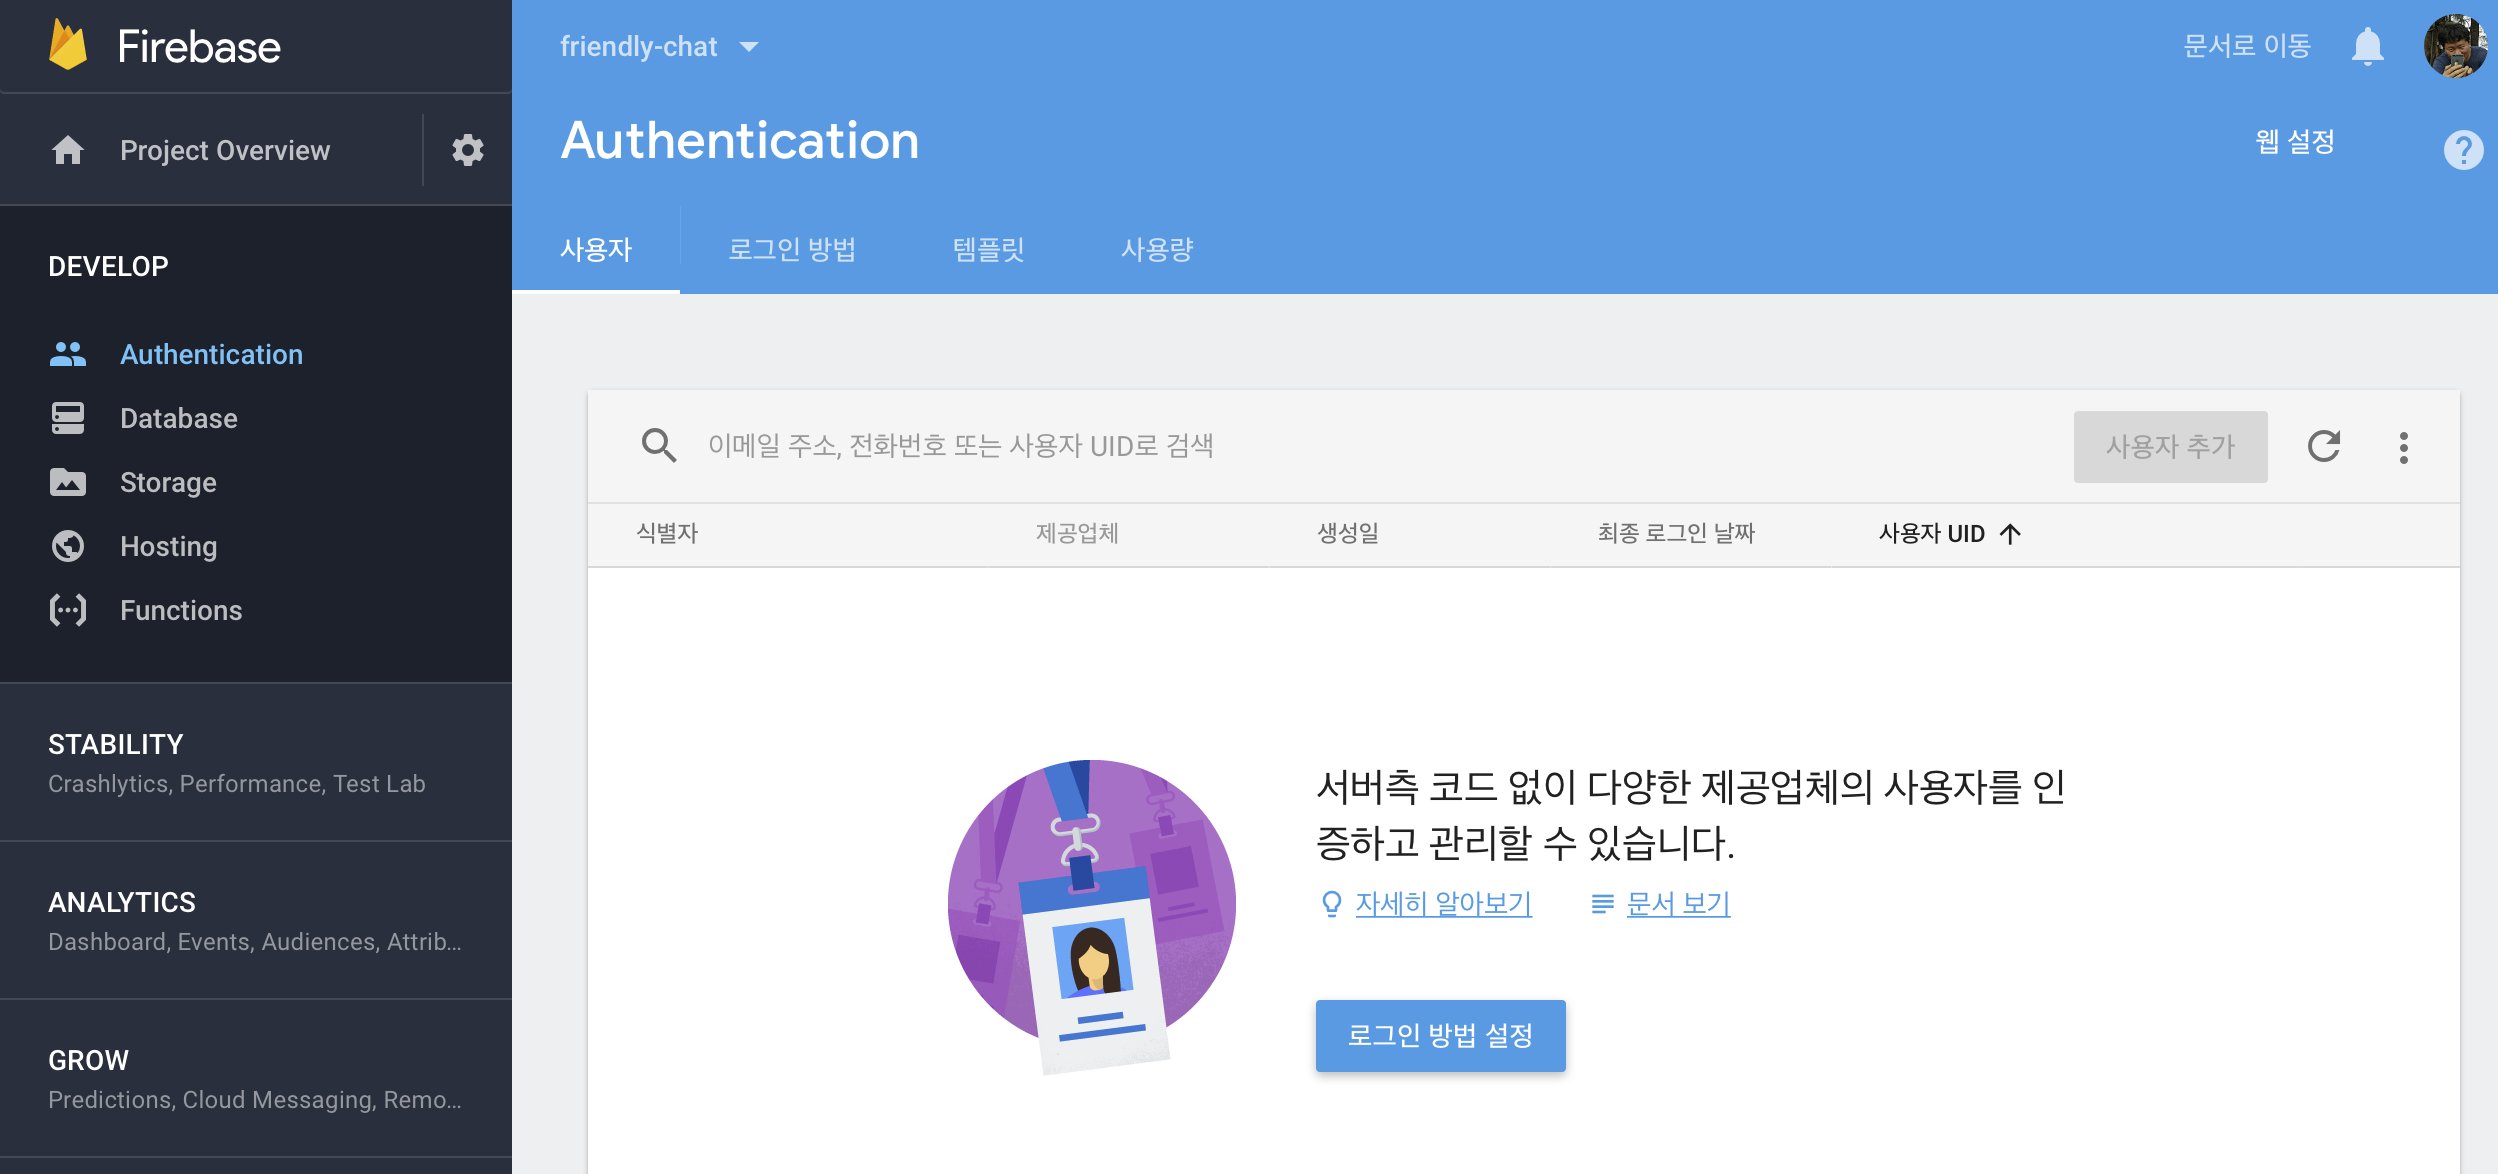
파이어베이스 콘솔에서 프로젝트를 선택한 후에 Authentication 으로 들어간다.
 {:width=”500”}
여기서 가능한 인증 방법은 이메일/비밀번호, 전화, Google, Play gmae, facebook, twitter, github, anonymous 가 제공된다.
Google 인증으로 시작해 보자
 {:width=”500”}
Auth dependency 추가하기
앱 모듈의 build.gradle에 firebase-auth 플러그인을 추가한다.
app/build.gradle 파일:
1 | implementation 'com.google.firebase:firebase-auth:15.0.0' |
Add the Auth instance variables in the MainActivity class:
MainActivity.java 파일
1 | // Firebase instance variables |
사용자 확인하기
로그인 화면을 표시하기 위해 onCreate 에 아래 코드를 추가하자
1 | // Set default username is anonymous. |
로그아웃을 메뉴 아이템으로 추가해 보자,
1 |
|
로그인 화면 구현
SignInActivity 클래스를 열고 구글 계정으로 로그인할 수 있도록 코드를 추가해 보자,
SignInActivity.java
1 | // Firebase instance variables |
SignInActivity.java의 onCreate에
1 | // Initialize FirebaseAuth |
로그인 버튼을 클릭하면 인증화면이 호출되도록 해보자,
SignInActivity.java
1 |
|
Add the required signIn method that actually presents the user with the Google Sign-In UI.
SignInActivity.java
1 | private void signIn() { |
onActivityResult() 에 결과를 처리하는 코드를 추가해 보자,
1 |
|
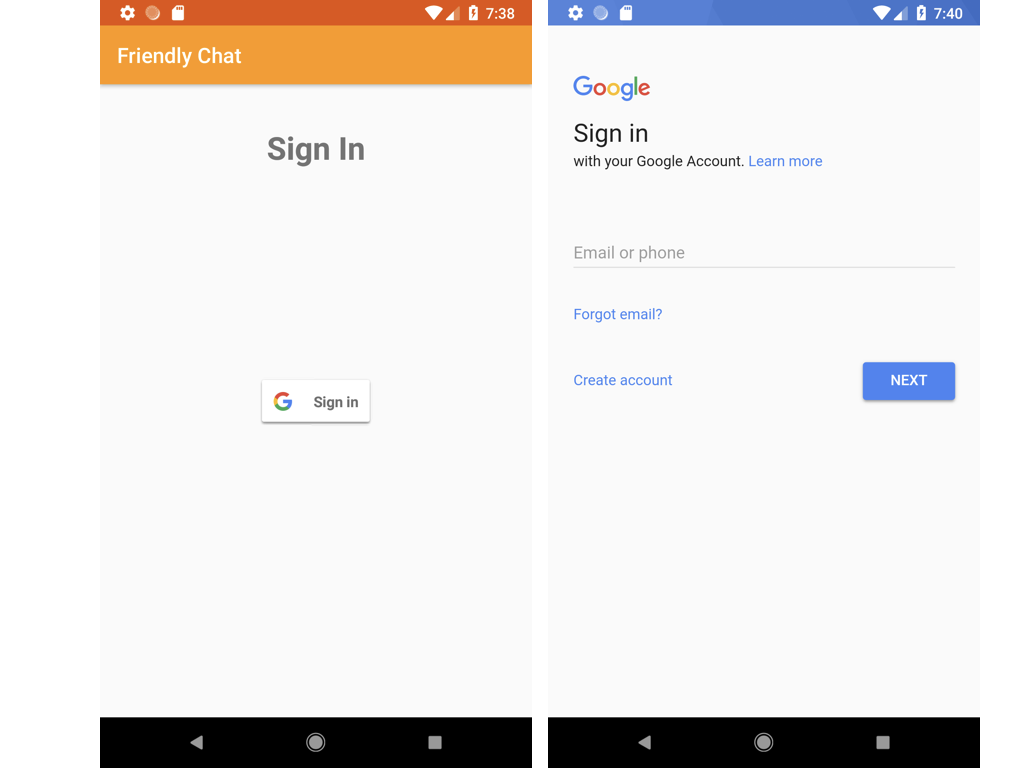
앱을 실행하면 구글 로그인 화면을 볼 수 있다.
 {:width=”500”}
로그인을 진행하면서 구글 서비스 이용에 대한 동의 절차가 진행된다. 로그인 후 채칭 화면의 옵션 메뉴에서 Logout 도 정상적으로 동작하는지 확인해 보자.
참조
Firebase - Android Codelab (3): Auth
https://thinkbee.github.io/documents/android/2018-05-01-android_codelab03-auth.html